
Tying a rotisserie chicken is an essential skill every cook should master. From achieving an even cook to a crispier skin, ‘trussing’ your rotisserie chicken helps ensure a delicious meal every time. In this comprehensive guide, well walk you through the process of safely and effectively tying a rotisserie chicken.

Why Tying a Rotisserie Chicken Matters
So, why is it important to tie a rotisserie chicken? For one, it ensures an even cook. When the chicken is adequately tied, its wings and legs are securely fastened, preventing them from flopping around or burning during the cooking process.
The Benefits of Tying a Rotisserie Chicken
- Even Cooking: A tied chicken cooks more evenly, ensuring that no part is overdone or underdone.
- Crispier Skin: By keeping the chicken compact, it allows the skin to crisp up beautifully as it turns on the rotisserie.
- Improved Presentation: A nicely tied chicken looks more appealing when served.
Tools You Need for Tying a Rotisserie Chicken
Before we dive into the process, it’s important to gather the necessary tools. Here’s what you’ll need:
- Butcher’s Twine: This type of string is strong and food-safe.
- Kitchen Shears: To cut the twine.
- Rotisserie Spit and Forks: Essential for securing the chicken on your rotisserie.

Step-by-Step Guide on How to Tie a Rotisserie Chicken
Here’s how to tie a rotisserie chicken properly:
Positioning the Chicken
Place your chicken breast-side up on a clean surface. Ensure that the legs are pointing toward you.
Tying the Legs
Using your butcher’s twine, make a loop around the ends of the drumsticks and pull them together. Tie a knot to secure them.
Tucking the Wings
Tuck the wings underneath the chicken. This protects them from burning and helps the chicken maintain a compact shape.
Securing the Body
Wrap the twine around the body of the chicken, securing the wings tightly against the breast. Make sure the string is firm but not so tight that it cuts into the meat.
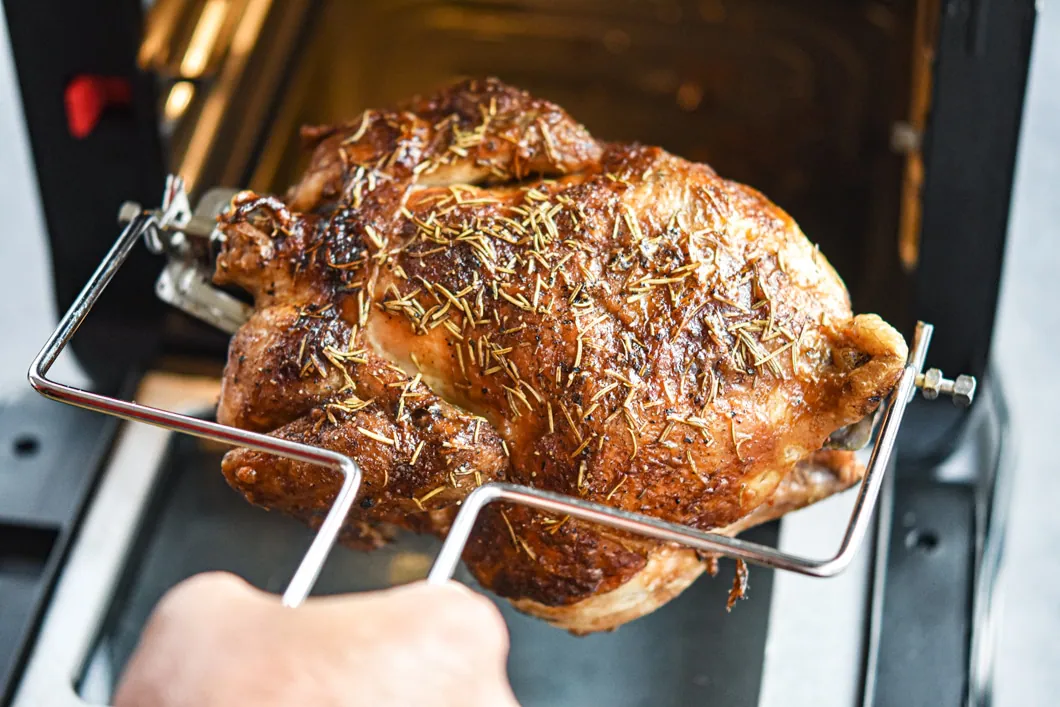
Placing the Chicken on the Rotisserie
Once your chicken is tied, its time to place it on the rotisserie:
Inserting the Spit
Insert the rotisserie spit through the cavity of the chicken. Make sure its centered for balanced rotation.
Securing with Forks
Use the rotisserie forks to secure the chicken onto the spit. Tighten the screws to ensure the chicken is firmly in place.
Seasoning and Cooking the Chicken
Season your chicken as desired before placing it in the rotisserie oven. View this external link for seasoning tips. Set your oven, and you’re good to go!
Serving the Perfect Rotisserie Chicken
After the chicken is beautifully cooked, its time to serve:
- Resting: Allow the chicken to rest for about 10 minutes after removing it from the oven for juicier meat.
- Carving: Use a sharp knife for clean cuts, and serve with your favorite side dishes.
Common Mistakes to Avoid
Let’s cover a few common mistakes you should avoid when tying a rotisserie chicken:
- Using the Wrong Twine: Always use food-safe butchers twine, not any other string.
- Not Tucking the Wings: Unsecured wings can burn before the rest of the chicken is cooked.
- Over-Tightening: Tying the twine too tightly can cut into the chicken, causing uneven cooking and drying out the meat.
FAQs
Do I need to marinate the chicken before tying it?
While it’s not required, marinating the chicken can add extra flavor. However, make sure to pat the chicken dry before tying to ensure the twine holds properly.
Can I use regular string for tying the chicken?
No, it’s best to use butcher’s twine, as it is designed to withstand cooking temperatures and is food-safe.
What if I dont have a rotisserie spit?
You can still truss your chicken for roasting in the oven. It won’t be rotisserie-style, but it will still help in even cooking and improved presentation. Check out these tips on repurposing your rotisserie chicken.
How long should I cook my rotisserie chicken?
Cooking time depends on the size of the chicken and your oven settings. Generally, it takes about 1 to 1.5 hours at 375F. Use a meat thermometer to ensure the internal temperature reaches 165F.
As an Amazon Associate, I earn from qualifying purchases.


