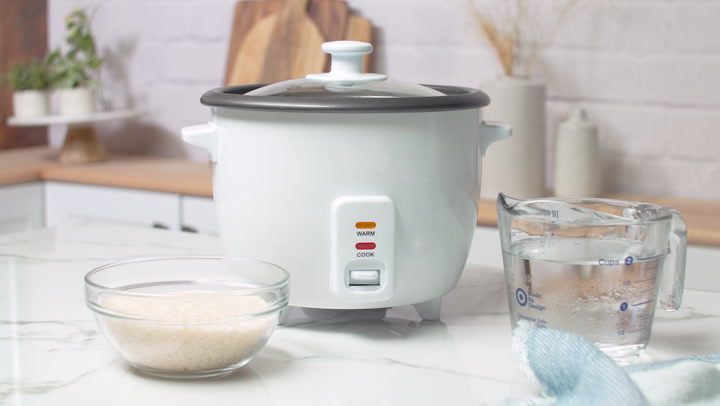
If youre questioning whether your trusty rice cooker can double as a solution for perfectly cooked chicken wings, youre in luck. The answer is a resounding yes! Learning how to cook chicken wings in rice cooker is not just convenient but also produces juicy, tender wings infused with your favorite seasonings. Perfect for busy weeknights, game nights, or even as a delightful dish to impress your guests. Lets dive into a step-by-step guide to create flavorful wings using your rice cooker.

Why Cook Chicken Wings in a Rice Cooker?
The rice cooker might not be the most obvious choice for chicken wings, but its simplicity and efficiency make it a surprisingly great option. The enclosed cooking environment in a rice cooker ensures that the wings cook evenly while retaining moisture. Unlike traditional frying or baking, cooking chicken wings in a rice cooker is less hands-on, allowing you to set it and forget it. Plus, this method uses less oil, making it a healthier way to enjoy your wings.
Key Benefits of Using a Rice Cooker
- Even cooking: The rice cooker ensures that heat is distributed evenly, giving you perfectly cooked wings every time.
- Healthier cooking: You can enjoy flavorsome chicken wings with minimal oil, reducing unnecessary calories.
- Simplicity: With minimal effort, you can achieve delicious results. Just set the timer and let the rice cooker handle the rest.
- Versatility: You can mix in vegetables, rice, or spices with your chicken wings for a complete meal in one pot.
Ingredients Youll Need
For the Main Dish:
- 1 pound of chicken wings
- 2 tablespoons soy sauce
- 2 cloves of garlic, minced
- 1 tablespoon of honey
- 1 teaspoon of paprika
- Salt and pepper to taste
Optional Add-Ons:
- Vegetables like carrots, potatoes, or green beans
- Rice (if you want to cook a one-pot meal of wings and carbs)
Essential Tools
Step-By-Step Instructions
1. Prepare the Chicken Wings
Start by thoroughly rinsing the chicken wings under cold water. Use a knife and cutting board to separate wing sections, if needed. Pat the wings dry with paper towels before seasoning them.
2. Marinate the Chicken
In a mixing bowl, combine soy sauce, minced garlic, honey, paprika, salt, and pepper. Toss the chicken wings in the mixture, ensuring they are coated evenly. For the best flavor, marinate the wings in the refrigerator for at least 30 minutes or, ideally, overnight.
3. Prepare Your Rice Cooker
Lightly oil the bottom of the rice cooker to prevent the wings from sticking. If youre ambitious, you can add a small bed of sliced onions or vegetables for added flavor. Ensure the cooker is clean and ready by using a reliable cookware cleaner.
4. Cook the Chicken Wings
Place the marinated wings into the rice cooker, ensuring they are spread out evenly in a single layer. Cover the cooker and set it to ‘cook’ mode. Cooking times may vary depending on the size and model of your rice cooker, but usually, it takes around 20-25 minutes. Halfway through, open the lid and flip the wings for even cooking.
5. Check for Doneness
Use a fork or cooking thermometer to check whether the chicken is cooked through. The internal temperature for chicken should be at least 165 degrees Fahrenheit.
6. Serve and Enjoy!
Carefully remove the wings from the rice cooker and arrange them on a plate. Garnish with chopped herbs or sesame seeds if desired. Serve alone or pair with a side of rice or vegetables for a complete meal.
Cleaning and Maintenance Tips
To keep your tools in good shape, be sure to use a quality cookware cleaner for your rice cooker and treat your cutting board with a reliable cutting board oil. Proper care will ensure long-term usability and prevent bacterial buildup.
More Recipes to Try

Final Thoughts
Cooking chicken wings in a rice cooker is not only convenient and time-saving, but it also delivers flavorful results with minimal effort. Whether youre preparing for a quick dinner or entertaining friends, this method is bound to amaze both you and your guests. With these tips and tools, youll see how your rice cooker can transform into a versatile kitchen favorite. Happy cooking!
This article contains affiliate links. We may earn a commission at no extra cost to you.


