If you’re new to keeping chicks or looking for a cost-effective solution, a plastic tote chick brooder might just be the perfect choice for you. This method offers simplicity and efficiency, ensuring your chicks are safe and comfortable. Let’s explore the ins and outs of setting up a successful chick brooder using a plastic tote.

Understanding the Plastic Tote Brooder
The idea behind a plastic tote chick brooder is to create a secure, enclosed environment where chicks can grow and develop healthily. Using a plastic tote has distinct advantages, like being easy to clean and maintain, cost-effective, and portable.
Benefits of a Plastic Tote Chick Brooder
- Cost-Effective: Plastic totes are affordable and available in various sizes.
- Easy to Clean: These totes are simple to wash and sanitize, ensuring a healthy environment for the chicks.
- Portable: Lightweight construction makes transporting your brooder easy.
Choosing the Right Plastic Tote
When selecting a plastic tote, ensure it’s spacious enough for your chicks to move around comfortably. A good rule of thumb is at least one square foot per chick. Additionally, ensure the tote is sturdy to withstand any knocks or bumps.
Setting Up Your Brooder
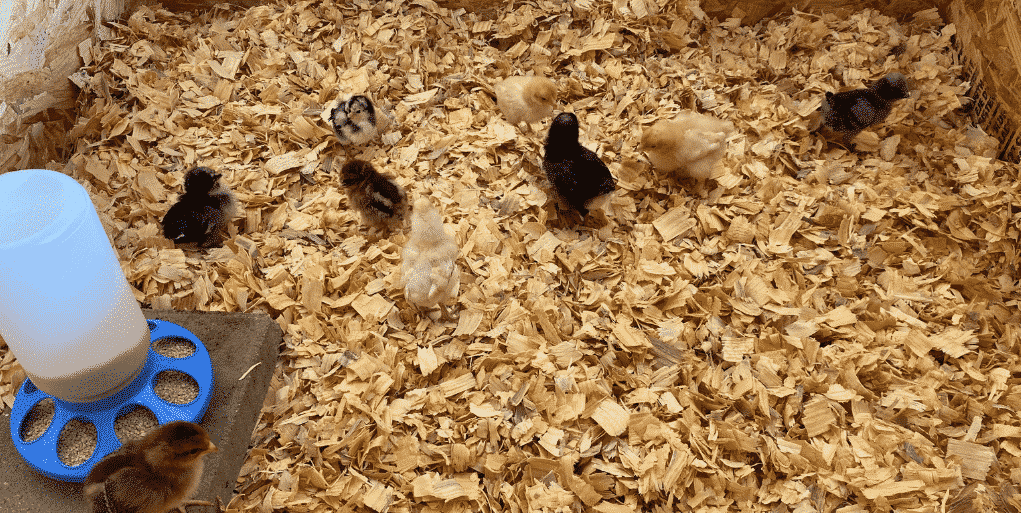
To create a good home for your chicks, line the bottom of the tote with bedding. Pine shavings are a popular choice due to their absorbent nature. For more setup ideas, visit this brooder setup guide.
Lighting and Heat
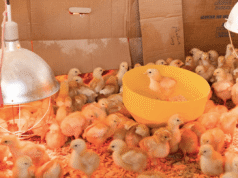
Providing adequate heat is crucial. Newborn chicks require temperatures around 95F, which should be decreased by 5F weekly. Use a heat lamp positioned safely at one end of the brooder, allowing chicks to move away if they get too warm.
Securing Your Brooder
Ensure the brooder is secure from household pets and young children. A mesh cover can help protect chicks while allowing proper ventilation.
Training and Socialization
Introduce your chicks to gentle handling early. This helps them become accustomed to human interaction, crucial for their social development.
Feeding Your Chicks
Provide a balanced chick starter feed that is appropriate for their age. Fresh, clean water should always be available. For more details, consider this brooder basics article.
Monitoring Health
Regularly check for signs of illness such as lethargy or unusual behavior. Quick intervention is crucial to prevent the spread of disease.
Maintaining Cleanliness
Regularly change the bedding and clean the brooder to maintain a healthy environment. This prevents the build-up of harmful bacteria.
Safety Considerations
Ensure the heat lamp is properly secured to prevent any fire hazards. Additionally, avoid using harmful cleaning chemicals around the brooder.
Transitioning to the Coop
Once chicks are fully feathered, they can be moved to a larger living space. For detailed information, see when to move chicks.
Troubleshooting Common Issues
Common problems include uneven temperatures and crowding. Regular observation helps prevent these issues.
Expanding Your Brooder
If you plan to raise more chicks in the future, consider investing in a larger brooder or additional totes.
Setting up a plastic tote chick brooder is a rewarding experience, simplifying the process of raising healthy and happy chicks. For more tips, explore this external brooder setup resource.

FAQ
What size tote is ideal?
A tote should be at least one square foot per chick to ensure comfort.
How often should I clean the brooder?
Clean the brooder at least weekly, or more often if there’s any soiling.
How can I tell if the temperature is correct?
Watch for signs of discomfort. Piled up chicks indicate they’re cold; spread out chicks indicate they’re too warm.
This article contains affiliate links. We may earn a commission at no extra cost to you.


