
Raising chicks is a rewarding venture that brings joy and satisfaction to many. Understanding how to raise chicks from incubator to coop is essential for ensuring their healthy growth and development. In this guide, we’ll walk you through every step of the process, from incubation to finally moving your chicks into a coop.
Understanding the Incubation Process
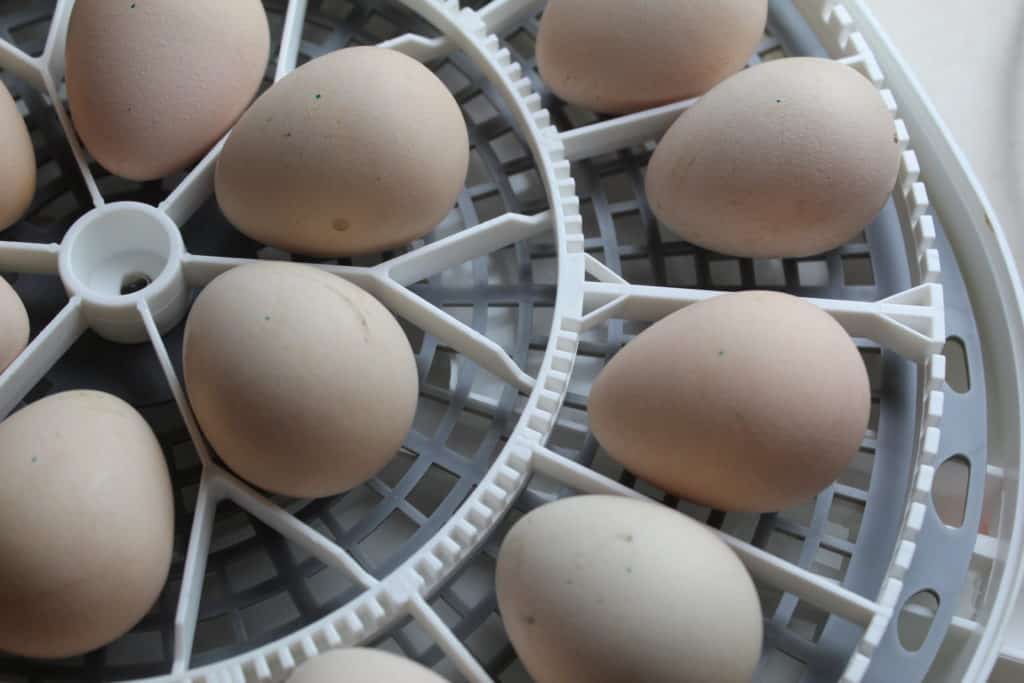
The journey begins with the incubation of eggs. Proper incubation is crucial for successful hatching. You’ll need to manage temperature, humidity, and turning the eggs regularly. For more tips on incubation, check out our article on incubating eggs in hot climates.
Setting Up Your Incubator
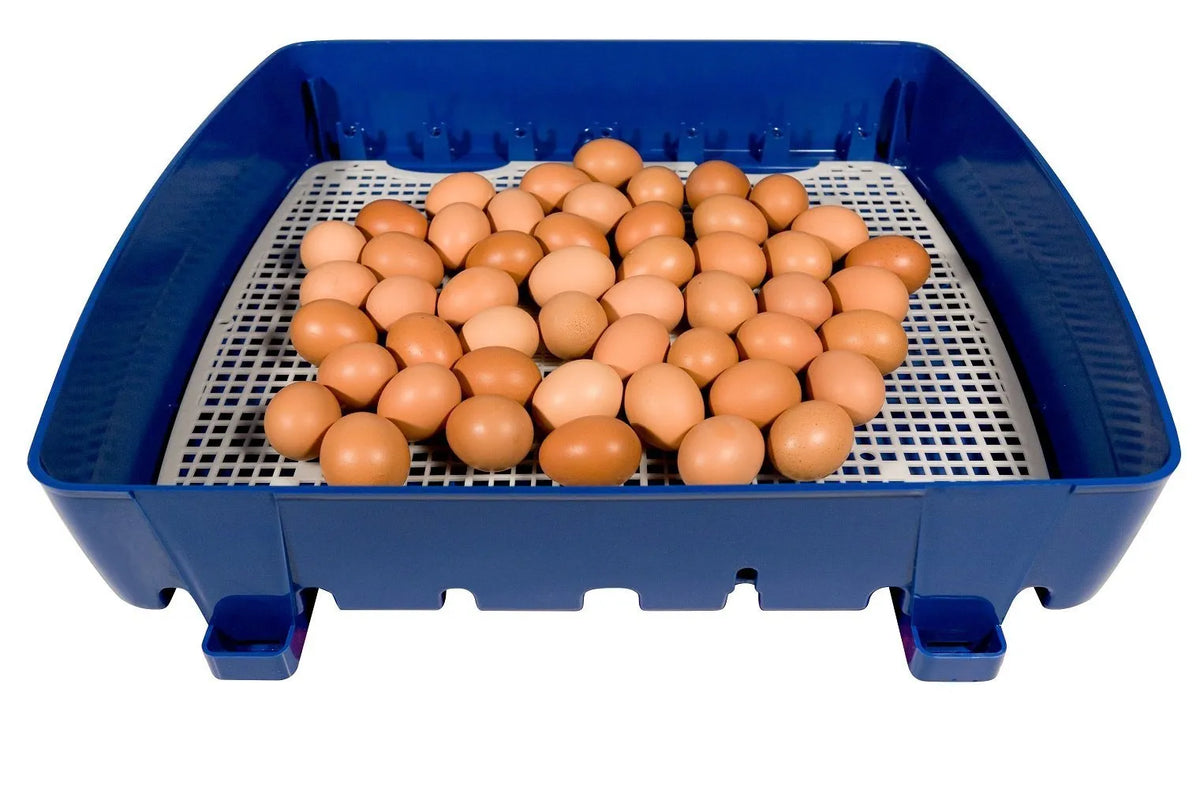
Before placing the eggs in the incubator, ensure that it is clean and functioning correctly. Set the temperature between 99.5F and 100F and maintain humidity at around 50-55%. For those facing humidity challenges, our egg incubator humidity hacks can be a lifesaver.
Monitoring Egg Development
Throughout the incubation period, regularly check the eggs for any signs of development. Candling is a technique used to observe the growth of the embryo inside the egg.
Hatching Day: What to Expect
As the hatching day approaches, excitement builds. Ensure that the incubator remains closed to maintain the environment’s stability. Chicks will start to pip and eventually break free from their shells.
Assisting with Hatching
While it’s tempting to assist chicks struggling to hatch, its usually best to let nature take its course. However, if necessary, gently assist them to avoid prolonged struggle.
The First Few Days: Brooding Chicks
Once hatched, chicks are moved to a brooder, a warm and safe environment to develop their strength. The brooder should be kept at about 95F, gradually reducing the temperature weekly to acclimate the chicks.
Feeding and Watering
Provide chicks with high-quality starter feed and fresh water. Clean and refill their water source regularly to prevent contamination.
Observing Chick Behavior
Monitor the chicks for any signs of distress or illness. Healthy chicks are active and curious, while sick chicks may appear lethargic.
Preparing for the Transition to the Coop
As chicks grow, they will need more space. Preparing the coop is crucial for a smooth transition. Ensure the coop is safe, clean, and predator-proof.
Gradual Acclimatization
Before moving them permanently, allow chicks to explore the coop during the day to get acquainted with their new environment.
Introducing Chicks to the Flock
If you have an existing flock, introduce the chicks gradually to prevent bullying. Supervise these interactions closely.
Maintaining a Healthy Flock
Regularly inspect the coop for cleanliness and ensure that food and water are always available. This helps maintain a healthy and happy flock.
Routine Health Checks
Conduct routine health checks to spot any potential health issues early. Vaccinations and preventive care are also recommended.
Conclusion
Successfully raising chicks from an incubator to coop requires patience, care, and attention to detail. By following these guidelines, you’ll ensure the healthy growth of your chicks and enjoy the fruits of your labor. For more insights on managing your coop, visit this hatching chicks guide.
FAQs
When is the right time to move chicks to the coop?
Chicks can be moved to the coop when they are fully feathered, usually around 6-8 weeks old.
How do I know if my chicks are healthy?
Healthy chicks are active, have bright eyes, and display curiosity. Any signs of lethargy or abnormal behavior should be addressed promptly.
What should I do if my chicks appear ill?
If chicks appear ill, isolate them immediately and consult a veterinarian. It’s important to address health issues quickly to prevent spread within the flock.
This article contains affiliate links. We may earn a commission at no extra cost to you.


