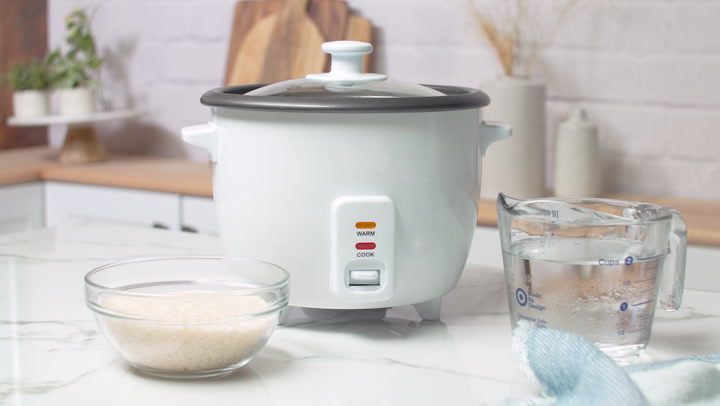
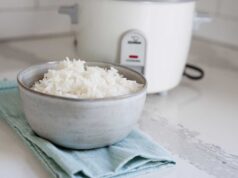
If you’re short on time but still craving a warm, fluffy bowl of perfectly cooked rice, learning how to cook minute rice in a rice cooker can save the day. Minute rice, also known as instant rice, is an excellent option for those busy days when time is a luxury. Utilizing a rice cooker not only streamlines the process but ensures consistent results every time. Whether you’re preparing a quick lunch or a family dinner, this guide will help you master the art of cooking minute rice with ease.

Why Choose Minute Rice?
Minute rice is parboiled and precooked, making it a faster alternative to traditional rice. While it may have slight differences in flavor and texture compared to regular rice, it’s a lifesaver for weeknight meals or when you’re in a rush. Cooking it in a rice cooker simplifies the process further, eliminating the need to keep an eye on the stove or worry about overcooking.
What You’ll Need to Get Started
Before diving into the steps, gather the following essentials to ensure a seamless cooking experience:
- Minute rice (quantity as per your serving size)
- A rice cooker
- Water
- A measuring cup
- Optional: Salt, butter, or cooking oil
Step-by-Step Guide to Cooking Minute Rice in a Rice Cooker
Once your ingredients and tools are ready, follow these detailed steps for a foolproof method:
Step 1: Measure Your Ingredients
Begin by determining the quantity of minute rice you’ll need. Use the measuring cup that came with your rice cooker for accurate measurements. As a general rule, the ratio of water to minute rice is usually 1:1, but always refer to the rice packaging instructions for the best result.
Step 2: Rinse the Rice (Optional)
Unlike traditional rice, rinsing minute rice is not mandatory. However, if you prefer fluffier grains with fewer impurities, give your rice a quick rinse using a fine mesh strainer and cold water.
Step 3: Add Rice & Water to the Cooker
Pour the rinsed or unrinsed rice into the inner pot of the rice cooker. Add the corresponding amount of water based on your measurements. If desired, enhance the flavor by adding a pinch of salt, a teaspoon of butter, or a splash of cooking oil.
Step 4: Start the Cooking Process
Close the lid of the cooker and select the standard cooking function. Since minute rice cooks faster than regular rice, keep an eye on the process or consult your rice cooker’s manual for specific cooking times. Most recipes suggest about 10 minutes.
Step 5: Fluff and Serve
Once the cooker completes the cycle and switches to the ‘keep warm’ function, let it rest for 5 minutes. Then, use a spatula or fork to gently fluff the rice before serving. Your perfectly cooked minute rice is ready to enjoy!
How to Customize Your Minute Rice
One of the best things about minute rice is its versatility. You can easily customize it to complement various dishes. Here are some ideas:
- Add fresh herbs or spices for an aromatic twist.
- Stir in seasonal vegetables for added nutrition and color.
- Create a one-pot meal by mixing cooked chicken or beans with your rice.
- For a sweet variation, add raisins, cinnamon, and sugar for a dessert-like treat.
FAQs about Cooking Minute Rice in a Rice Cooker
How do I know when the rice is done?
Since minute rice cooks faster than regular rice, the rice cooker may finish sooner. Consult your manual or check the timer to ensure it’s ready without overcooking.
Can I use broth instead of water?
Absolutely, using chicken or vegetable broth enhances the flavor, especially for savory recipes.
Is minute rice healthy?
While minute rice is slightly processed, it is still a source of essential nutrients like carbohydrates for energy. Pairing it with vegetables and protein makes for a balanced meal.
Cleaning and Maintenance Tips
After enjoying your delicious meal, don’t forget to clean your tools and maintain them for future use:
- Use a cookware cleaner to remove any stuck residue from the cooking pot gently.
- Keep your cutting board conditioned with cutting board oil for longevity.

Related Resources on Cooking Rice
If you’re interested in other rice cooking methods, check out these helpful articles from Chicken Things and More:
This article contains affiliate links. We may earn a commission at no extra cost to you.


