When it comes to authentic Japanese cuisine, few things are as essential as perfectly cooked Japanese rice. **Learning how to cook Japanese rice in rice cooker** is a game-changer for anyone wanting to enjoy fluffy, fragrant, and restaurant-quality rice at home. In this article, I’ll walk you through the entire process step-by-step, give you tips for achieving perfection, and suggest some indispensable kitchen tools to make your cooking easier. Whether you’re preparing a Japanese meal or simply a rice lover, this guide will help you achieve incredible results every time.

What Makes Japanese Rice Unique?
Japanese rice, often referred to as ‘short-grain rice’ or sometimes ‘sticky rice,’ is distinct because of its texture, taste, and versatility. It’s soft, slightly sweet, and clings together when cooked. The most common types of Japanese rice are **Japonica**, Koshihikari, and Sasanishiki, which are highly prized for their flavor and consistency. Japanese rice is the cornerstone of delicacies such as sushi, onigiri, and even simple rice bowls paired with miso soup. However, cooking this type of rice to perfection isn’t as straightforward as other rice varieties. The key? Using a reliable **rice cooker** and following a well-tested method.
Essential Tools You’ll Need
To cook Japanese rice like a pro, it’s vital to have the right tools at your disposal. Here’s the cookware and equipment you’ll need:
Ingredients
- Japanese short-grain rice (2 cups for this recipe)
- Water (adjust based on rice cooker guidelines)
Cookware
Step-by-Step Guide: How to Cook Japanese Rice in Rice Cooker
The key to mastering Japanese rice lies in meticulous preparation and precise technique. Here’s a detailed breakdown:
Step 1: Measure and Rinse Your Rice
Start by measuring the desired amount of Japanese rice. For this recipe, we’ll use 2 cups of rice, which yields approximately 4-5 servings. Use a cup specifically provided with your **rice cooker** for accurate measurements.
1.1 Why Rinse Your Rice?
Japanese rice requires thorough rinsing to remove the outer layer of starch. This prevents the rice from becoming overly sticky or mushy. Place the rice in a bowl, add enough water to cover it, and gently swish the grains with your hands. Drain the cloudy water and repeat this process 3-4 times until the water becomes almost clear.
1.2 Soaking Your Rice (Optional but Recommended)
For soft and evenly cooked rice, allow the rinsed rice to soak in water for about 30 minutes. Japanese rice absorbs water slowly, so this step helps the grains hydrate properly before cooking.
Step 2: Add Water to the Rice Cooker
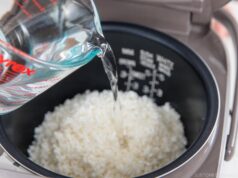
After rinsing and soaking, transfer the rice to the rice cooker’s inner pot. Add water according to your rice cookers specific water level for 2 cups of Japanese rice. Most rice cookers have a water line indicator labeled specifically for white rice. For those using a manual method, a general rule of thumb is 1:1.2 (1 cup of rice to 1.2 cups of water).
Step 3: Cook the Rice
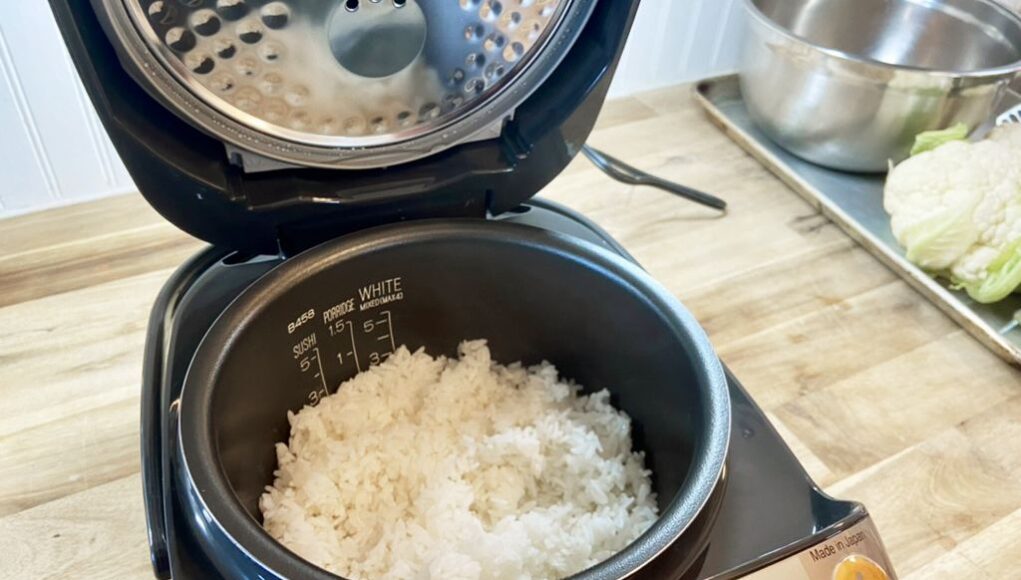
Set the rice cooker to its white rice or regular cook setting. Most **rice cookers** take 30-50 minutes to cook Japanese rice, depending on the model. Avoid lifting the lid during cooking as it can disrupt the steam process, leading to unevenly cooked rice.
Step 4: Let it Rest
Once the rice cooker beeps or switches to ‘warm mode,’ let the rice rest for an additional 10-15 minutes with the lid closed. This allows the remaining steam to settle and ensures every grain is perfectly cooked.
Step 5: Fluff and Serve
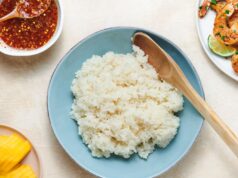
Gently fluff the rice using a rice paddle or a wide spatula. Avoid using metal utensils as they can scratch your rice cooker’s non-stick surface. Your Japanese rice is now ready to serve!
Important Tips for Better Results
- Use freshly milled Japanese rice for the best flavor and texture.
- Avoid over-rinsing as it can wash away some flavor components of the rice.
- If you want extra flavor, try adding a piece of kombu (seaweed) to the rice before cooking.
What to Pair with Japanese Rice?
Japanese rice is incredibly versatile and pairs beautifully with various dishes. Consider trying it with miso-glazed salmon, teriyaki chicken, or even classic sushi rolls. For authentic BBQ enthusiasts, check out this BBQ Pork Chops Recipe to create something memorable. Each pairing showcases the unique flavor of Japanese rice, letting it shine as the star of your meal.
Recommended Cleaning and Maintenance
After enjoying your rice, dont forget to clean and maintain your tools. A clean rice cooker ensures that future meals arent affected by lingering starch residues or odors. Here are some helpful product links for the job:
For more tips on pairing rice with delicious BBQ, check out this guide on sugar-free BBQ sauces. Both rice and BBQ can create unforgettable culinary experiences.
Conclusion
Now you know the secrets to preparing fluffy and delicious Japanese rice every time. **Mastering how to cook Japanese rice in rice cooker** isn’t just about following steps its about appreciating the art behind one of Japans most beloved staples. Paired with your favorite dishes, Japanese rice can transform any meal into a culinary delight. Ready to give it a try? Your adventure into authentic Japanese flavors begins now!

Further Resources
Looking to make an entire meal with rice? Check out other creative rice cooker recipes for more ideas!
This article contains affiliate links. We may earn a commission at no extra cost to you.


