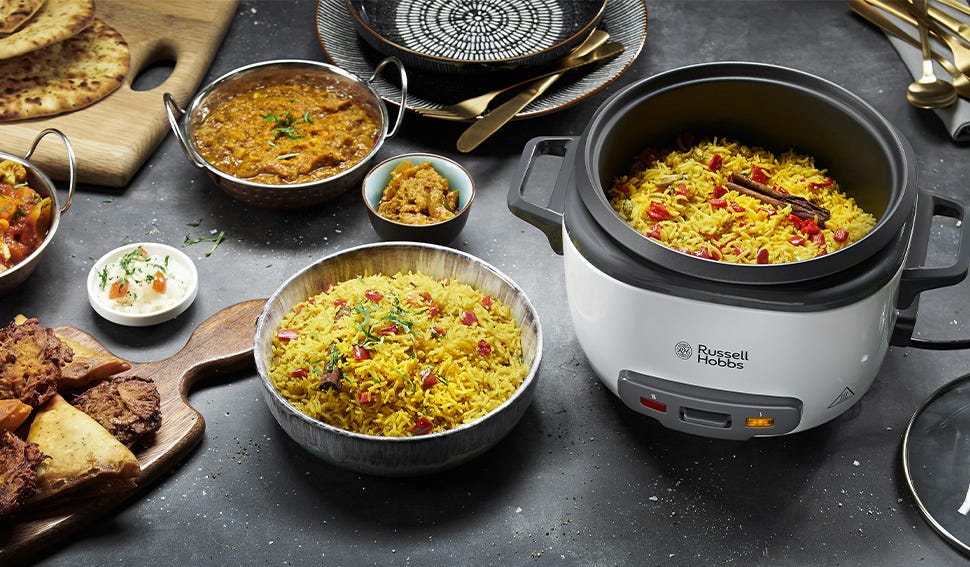
A warm, fluffy, and perfectly moist cake is one of lifes most delightful treats, and the thought of baking a cake often conjures images of shiny ovens, precise measurements, and an array of equipment. But what if I told you that all you need is a rice cooker to make an incredible homemade cake? Yes, you read that right! This article will explore how to cook cake in a rice cooker, a fun and unconventional method thats accessible to anyone with a rice cooker. Whether your conventional oven is out of service or you’re eager to try something new, trust me, this method will yield a luscious cake thatll have your taste buds dancing with joy.

Why Make a Cake in a Rice Cooker?
Making a cake in a rice cooker isnt just about convenience; it offers numerous benefits. For starters, rice cookers are incredibly versatile appliances, and their even heat distribution makes them perfect for baking. This method is ideal for people without an oven or those in small living spaces like dormitories, where access to traditional baking equipment might be limited. When you bake with a rice cooker, you also avoid the sometimes frustrating issue of an oven baking unevenly. The confined and consistent interior of a rice cooker is perfect for achieving a moist and tender cake. Plus, using a rice cooker reduces energy consumption compared to traditional ovens, making it an environmentally friendly option.
Essential Rice Cooker and Tools Youll Need
Ingredients:
- 1 cup all-purpose flour
- 1 teaspoon baking powder
- 1/2 cup sugar
- 2 large eggs
- 1/3 cup milk
- 1/4 cup unsalted butter (melted)
- 1 teaspoon vanilla extract
- A pinch of salt
Cookware and Tools:
- A rice cooker
- Knife
- Cutting board
- Mixing bowls
- Whisk or electric mixer
Step-by-Step Instructions
Step 1: Prepare Your Ingredients
Start by gathering all your ingredients to ensure you dont miss anything. Its vital to measure everything accurately baking is as much a science as it is an art! Making a cake in a rice cooker still follows the same basic principles as oven baking, which means youll need to stick to the recipe proportions for the best results.
Step 2: Mixing Dry Ingredients
In a large mixing bowl, sift together the flour, baking powder, and salt. Sifting helps in aerating the ingredients, which makes the cake fluffier. Set this mixture aside as we prepare the wet ingredients in the next step.
Step 3: Whisk Wet Ingredients
Crack the eggs into another bowl and whisk them until theyre light and frothy. Add in the sugar and mix until the granules dissolve. Pour in the melted butter, vanilla extract, and milk, ensuring the mixture is smooth and well-integrated. Combining your wet ingredients thoroughly will help avoid lumps when it’s time to add the dry ingredients.
Step 4: Combine Wet and Dry Ingredients
Slowly incorporate the dry ingredients into the wet ingredients. You’ll want to do this gradually, ideally in three parts, while gently folding the mixture to avoid overmixing. Overmixing can lead to a dense cake, and we want ours to be airy and tender. The end result should be a smooth batter.
Step 5: Prepare the Rice Cooker
Most rice cookers come with a removable pot. Grease the bottom and sides of the rice cooker pot using butter or cooking spray to ensure your cake doesnt stick. For additional ease, you can cut out a round piece of parchment paper and place it at the bottom.
Step 6: Pour and Cook
Pour the batter into the prepared rice cooker pot, ensuring its evenly distributed. Place the pot back into the rice cooker and secure the lid. Turn the rice cooker to its ‘cook’ setting this is where the magic happens. Depending on your rice cooker model, you might have to press the ‘cook’ button multiple times, as it may automatically switch to the ‘keep warm’ setting as it senses heat levels. Cooking time can range anywhere from 45 minutes to 1 hour. It’s crucial to avoid opening the lid frequently, as doing so might cause the cake to deflate.
Step 7: Check for Doneness
Once you think the cake is done, insert a toothpick or skewer into the middle. If it comes out clean, your cake is ready to be devoured. If not, let it cook for another 5-10 minutes and recheck.
Step 8: Cool and Serve
Allow the cake to cool in the rice cooker pot for about 10 minutes before removing it. Once slightly cooled, use a knife to gently loosen the edges, and then invert the pot onto a plate to release the cake. Decorate it with frosting, whipped cream, or a dusting of powdered sugar the choice is yours!
Troubleshooting Tips for Beginners
Even the best-laid plans can sometimes go awry. Here are some common issues and their solutions:
- **Cake Sticking to the Pot:** Ensure you grease the pot thoroughly. Parchment paper can also help.
- **Cake Not Cooking Through:** If the center remains raw, adjust the cooking time and keep an eye on the texture using the toothpick test.
- **Uneven Cake Texture:** Mix the batter gently and evenly to avoid clumping or overmixing.
Additional Resources
Looking to make more recipes with your rice cooker? Check out this guide on red lentils or learn new tips for cooking beans.
Cleaning Your Tools and Cookware
After enjoying your delicious cake, its time to take care of your cookware. Ensure you use a good cookware cleaner to keep your rice cooker pot spotless. Don’t forget to maintain your cutting board with quality cutting board oil to make it last longer.

Final Thoughts
Now that you know how to cook cake in a rice cooker, youve opened up a world of creative possibilities in your kitchen. So why wait? Dust off your rice cooker, prep your ingredients, and give this unique method a try today. Your perfectly baked treat is just a few steps away!
This article contains affiliate links. We may earn a commission at no extra cost to you.


