
For those who are embarking on the journey of raising chicks, creating the perfect brooder is vital. A well-designed diy chick brooder ensures a safe and nurturing environment for your young feathered friends, helping them grow healthy and strong. As any chicken lover knows, the early days are crucial for chicks. With a diy chick brooder, you can provide the warmth and security they need right from home.
What is a Brooder and Why is it Important?
A brooder is a heated enclosure that keeps chicks warm and dry, mimicking the conditions under a hen’s feathers. Proper care in a diy chick brooder impacts their health and development significantly. During these critical early days, the right setup prevents illness and ensures they thrive.
Essential Features of a Chick Brooder
To provide the best start for your chickens, it’s essential to include the following features in your diy chick brooder:
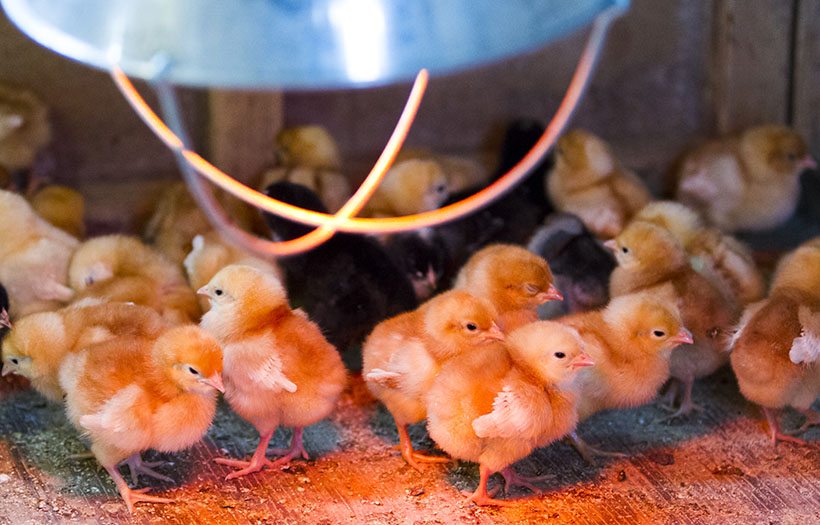
1. Heat Source
Chicks need a consistent heat source to stay warm. A heat lamp is the most common choice, but there are alternatives like ceramic heat emitters and heated plates. Ensure that the temperature is adjustable as chicks grow older and require less warmth.
2. Adequate Space
Your brooder should offer enough room for chicks to move freely and exercise as they grow. It needs to be spacious enough to prevent overcrowding, which can lead to health issues.
3. Safe Enclosure
Ensure the brooder has secure sides to prevent chicks from escaping. If you’re using a supplementary heat source like a lamp, ensure it’s out of reach to avoid accidents.
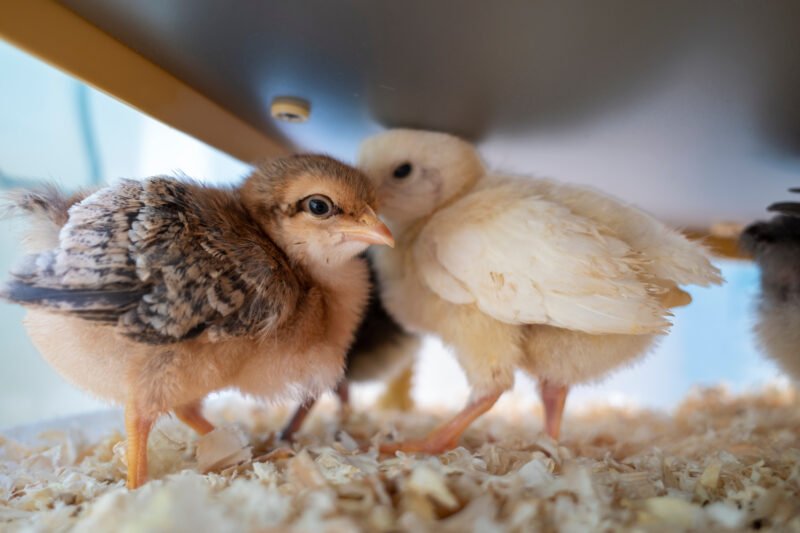
4. Bedding
Using suitable bedding like pine shavings keeps the brooder clean. Avoid cedar shavings or newspaper, which can harm chicks.
Building Your Own DIY Chick Brooder
Designing a diy chick brooder doesn’t have to be complex. Here are some simple ideas to consider:
1. Using a Plastic Bin
One of the simplest DIY ideas involves using a large plastic storage bin. These are easy to clean and can be modified with ventilation holes. You’ll also need to add a heat source and appropriate bedding.
2. The Cardboard Brooder
A cardboard box is another cost-effective option. It’s important to ensure it’s sturdy and doesnt get wet from spills.
3. Wooden Box Design
If you’re handy with tools, crafting a wooden brooder can be a satisfying project. Customize it to include windows for natural light and easy viewing, and ensure adequate ventilation.
4. Repurposed Furniture
Old furniture can make unique brooders; an unused dresser or large drawer can be repurposed. Creativity and a few modifications can turn these into charming homes for your chicks.
Maintaining the Brooder
Once your diy chick brooder is set up, maintaining it is crucial for chicken health:
1. Regular Cleaning
Keep the brooder clean to prevent the spread of diseases. Replace bedding regularly and ensure food and water are fresh.
2. Temperature Monitoring
Use a thermometer to monitor temperature levels, ensuring your chicks remain comfortable.
When to Transition Out of the Brooder
Chicks usually outgrow the brooder by 4 to 6 weeks. They should transition to a coop with additional space, fresh air, and an environment mimicking their outdoor homes. Learn more about the timing and growth stages at Age Chickens Start Laying.
Additional Resources and Tips
For further information on the nuances of raising healthy chicks and enhancing their living conditions, consider checking out resources from Kalmbach Feeds.
Frequently Asked Questions
What is the ideal temperature for a chick brooder?
For the first week, maintain a brooder temperature of around 95F (35C), then reduce it by 5F each week until you reach ambient temperature.
How often should I clean my chick brooder?
Clean the brooder at least once a week, but more frequently if it appears dirty or smells bad.
What should I feed the chicks in the brooder?
Start with commercial chick starter feed, which contains essential nutrients for their growth. Make sure the feed is always clean and fresh.
Building a diy chick brooder is the first step in your rewarding journey of raising healthy and happy chickens. With thoughtful planning and careful attention to detail, you can ensure your chicks thrive in their new home.
This article contains affiliate links. We may earn a commission at no extra cost to you.


