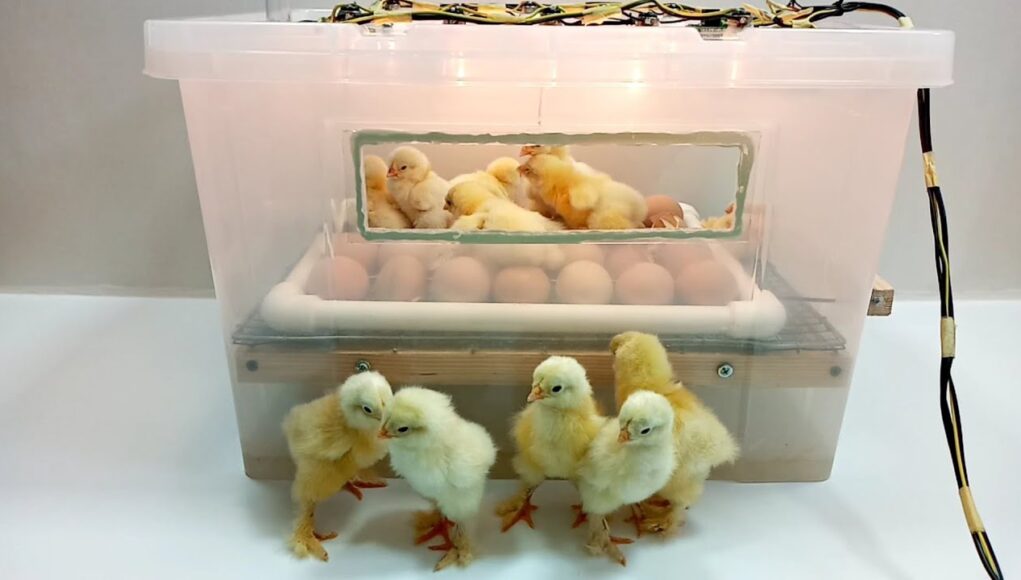
When it comes to incubating eggs, maintaining best practices for incubator hygiene is crucial for ensuring the health and safety of your chicks. By following proper hygiene protocols, you can effectively reduce the risk of contamination and disease, which are key concerns for any poultry enthusiast. In this article, we’ll explore the essential practices you need to implement to keep your incubator clean and your chicks healthy.
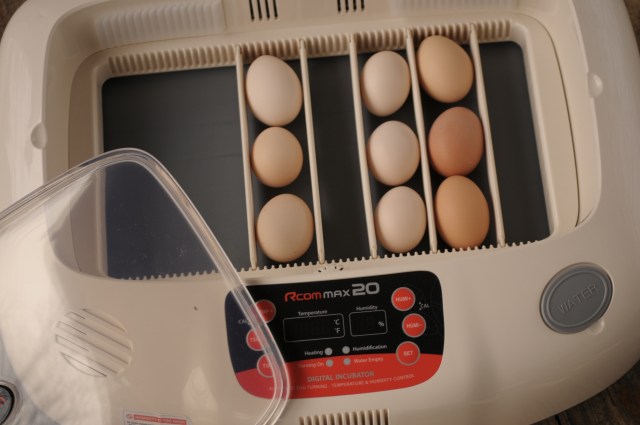
Understanding the Importance of Incubator Hygiene
Why is incubator hygiene so important? Simply put, a clean incubator is a healthy environment for your eggs. Bacteria and germs thrive in warm, humid settings, making an unclean incubator a potential breeding ground for infections. This can lead to poor hatch rates and unhealthy chicks. By adhering to best practices for incubator hygiene, you safeguard your investment and ensure a higher success rate in hatching.
Key Elements of Incubator Hygiene
There are several key elements to consider when maintaining incubator hygiene. These include regular cleaning, using disinfectants, and monitoring the temperature and humidity levels. Each of these elements plays a vital role in preventing disease and promoting a successful hatch.
Regular Cleaning and Maintenance
One of the most important best practices for incubator hygiene is regular cleaning. After each incubation cycle, it’s essential to thoroughly clean your incubator. Remove all debris, eggshells, and any other materials that may harbor bacteria. Use a mild detergent and warm water to clean the interior surfaces, and allow the incubator to dry completely before using it again.
Using Disinfectants Safely
In addition to regular cleaning, using disinfectants can help eliminate bacteria and viruses that may be present. Choose a disinfectant that is safe for use around eggs and chicks. Follow the manufacturer’s instructions carefully to ensure the safety of your birds. It’s crucial to rinse all surfaces thoroughly to avoid any residue that could harm your eggs or chicks.
Monitoring Temperature and Humidity
Maintaining the correct temperature and humidity levels is vital for successful incubation. An incubator that is too warm or too humid can encourage bacterial growth, while one that is too dry can negatively affect egg development. Invest in a good quality thermometer and hygrometer to keep track of these levels and adjust as necessary.
Proper Ventilation
Good ventilation is another important aspect of incubator hygiene. Fresh air helps to control the levels of carbon dioxide and other gases that can accumulate inside the incubator. Make sure your incubator has adequate airflow to prevent the buildup of harmful gases that could impact the health of your eggs.
Handling Eggs with Care
When it comes to handling your eggs, cleanliness is key. Always wash your hands before touching eggs or entering the incubator. If possible, wear gloves to further reduce the risk of transferring bacteria. Handle eggs gently to avoid damaging the developing chicks inside.
Avoiding Cross-Contamination
Cross-contamination is a common issue that can compromise incubator hygiene. To prevent it, avoid introducing new eggs into an incubator that is already in use. If you must add new eggs, ensure that they are clean and have been properly stored. For more on storing eggs before incubation, check out this guide.
Dealing with Mold and Mildew
Mold and mildew can quickly develop in an incubator if not properly managed. Regularly inspect your incubator for signs of mold, including a musty smell or visible growths. If mold is present, clean the area with a mixture of water and vinegar or a safe commercial cleaner. Ensure the area is dry before placing eggs back inside.
Checking for Infertile Eggs
Infertile eggs can rot and release harmful bacteria into your incubator. To prevent this, candle your eggs regularly to check for development. Remove any infertile eggs promptly. Learn more about candling eggs in this article.
Post-Hatch Cleaning
Once your chicks have hatched, it’s essential to clean your incubator thoroughly before the next use. This includes removing all hatching debris and disinfecting the surfaces. This step is crucial for preventing the carryover of bacteria to the next batch of eggs.
Long-Term Maintenance
In addition to regular cleaning, long-term maintenance of your incubator will ensure its longevity and effectiveness. Check for wear and tear, and replace any parts as needed. Keeping your incubator in good working order will contribute to better hatch rates and healthier chicks.
Conclusion
By following these best practices for incubator hygiene, you can significantly reduce the risk of disease and increase your chances of a successful hatch. Remember, a clean incubator is a healthy environment for your developing chicks. For additional tips on chick care after hatching, visit this resource.
FAQs
Why is incubator hygiene important?
Maintaining incubator hygiene is crucial for preventing bacterial infections and ensuring healthy chicks.
How often should I clean my incubator?
It’s recommended to clean your incubator thoroughly after each incubation cycle.
What disinfectants are safe for incubators?
Choose disinfectants that are non-toxic and safe for use around eggs and chicks. Always follow manufacturer guidelines.
For more detailed information on hatching and incubating eggs, you can visit this external guide.
This article contains affiliate links. We may earn a commission at no extra cost to you.
