
Cooking meat to perfection requires a precise temperature, making a meat thermometer an essential tool in your kitchen. If you’re a chicken lover, you know the importance of getting that perfect internal temperature. But what happens if your meat thermometer isn’t reading correctly? Don’t worry, we’ve got you covered. This comprehensive guide will walk you through how to adjust a meat thermometer step by step.

Understanding the Importance of a Meat Thermometer
First and foremost, let’s discuss why a meat thermometer is crucial. Improperly cooked meat can lead to various health risks, including foodborne illnesses. By using a meat thermometer, you can ensure your chicken and other meats are cooked to the right temperature, making them safe to eat.
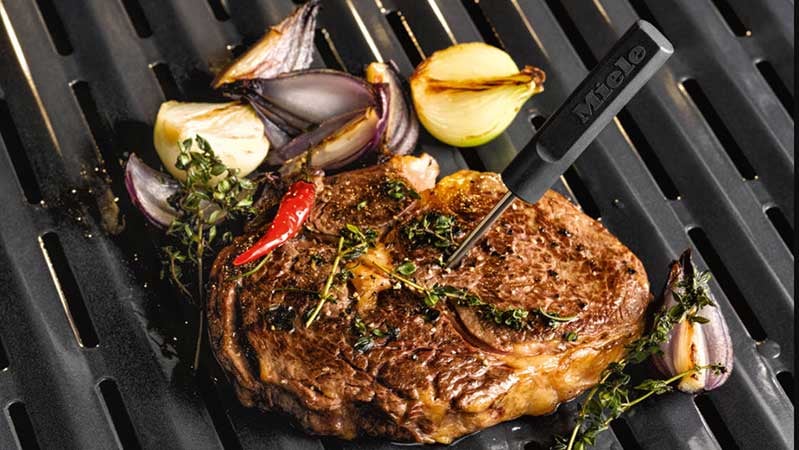
Whether youre making a delicious rotisserie chicken or grilling some succulent thighs, accuracy is key. That’s where an accurate meat thermometer comes in handy.
Calibration Basics
What is Calibration?
Calibration is the process of adjusting your meat thermometer to ensure it reads temperatures accurately. Over time, thermometers can drift from their original accuracy due to various reasons such as drops or prolonged use.
Types of Meat Thermometers
Before diving into calibration, its essential to know the types of meat thermometers available. These include:
- Digital Thermometer
- Dial Thermometer
- Instant-read Thermometer
- Probe Thermometer
Tools Needed for Calibration
To calibrate your thermometer, you’ll need the following materials:
- Ice
- Water
- Boiling Water
- Adjustable Wrench or Pliers (depending on the type of thermometer)
Step-by-Step Guide to Adjusting a Meat Thermometer
1. Ice Water Method
The Ice Water Method is ideal for most meat thermometers.
- Fill a glass with ice, then add cold water until the glass is full.
- Stir the water and let it sit for 30 seconds.
- Insert your thermometer into the ice water without touching the sides of the glass.
- Wait for the thermometer to stabilize and check the reading.
- If it doesnt read 32F (0C), adjust accordingly.
2. Boiling Water Method
This method works well for high-temperature calibration.
- Boil a pot of water.
- Once the water is boiling, insert your thermometer without touching the pot.
- Wait for the thermometer to stabilize and check the reading.
- If it doesnt read 212F (100C) at sea level, adjust accordingly.
Troubleshooting Common Issues
Even after calibration, you might face some issues. Heres how to troubleshoot:
Reading the Temperature
If your meat thermometer is consistently off, it might be damaged. Check for:
- Cracks in the probe
- Issues with the digital display
- Moisture inside the digital unit
You might want to consider purchasing a new thermometer if issues persist.
Maintaining Your Meat Thermometer
Proper maintenance can prolong the life and accuracy of your meat thermometer:
- Clean the probe after each use
- Store it in a safe place
- Avoid submerging digital displays in water
Why Accuracy Matters in Cooking Chicken
Chicken requires special attention. Undercooked chicken can be hazardous, while overcooked chicken tends to be dry.
For more tips on cooking chicken, check out this post on how long to microwave rotisserie chicken.
FAQs
How often should I calibrate my meat thermometer?
It’s recommended to calibrate your meat thermometer every six months or if you suspect it has been dropped or mishandled.
Can I use the same methods for all types of thermometers?
Yes, the Ice Water and Boiling Water methods work for both digital and dial thermometers.
What should I do if my thermometer is consistently inaccurate?
If your thermometer remains inaccurate after calibration, consider purchasing a new one as it might be damaged.
As an Amazon Associate, I earn from qualifying purchases.


