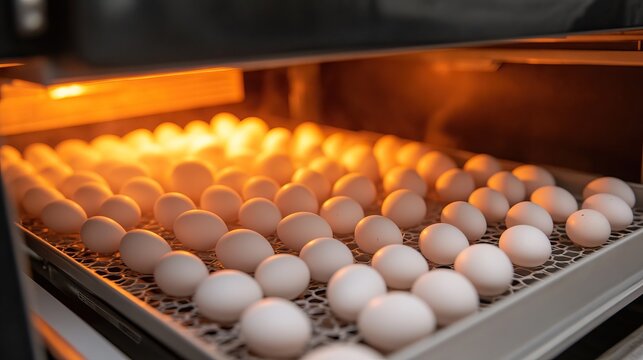
For those passionate about raising chickens, the process of incubating eggs is a fascinating journey. One crucial step in this process is candling chicken eggs. But when to start candling chicken eggs? This question often arises, especially for newcomers eager to ensure a successful hatch. Understanding the right timing and technique can make a significant difference in the hatching outcome.
In this article, we’ll delve into the nuances of when to start candling chicken eggs, the purpose behind it, and how to do it effectively. We’ll also explore the benefits of candling and provide helpful tips for achieving the best results.
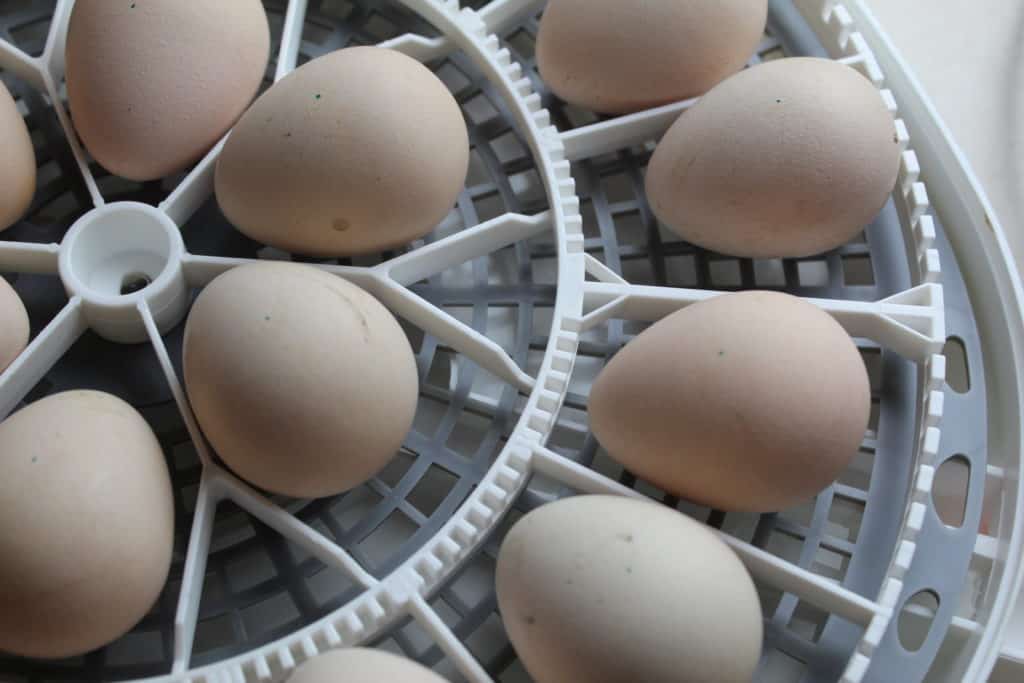
Understanding the Purpose of Candling Chicken Eggs
Candling is a method used to observe the development of embryos inside the eggs. By holding a light source up to the egg, you’re able to see the embryo and its progress. This practice helps in identifying embryos that are developing normally and those that are not viable, allowing you to manage your hatching process more effectively.
Why is Candling Important?
Candling is essential for several reasons. Firstly, it helps determine the fertility of the eggs. Fertile eggs will show signs of development within a few days, while infertile ones will not. Secondly, it allows you to monitor the health of the embryo, ensuring that the conditions within the egg remain optimal for growth.
When to Start Candling Chicken Eggs
The timing of when to start candling chicken eggs is critical for the success of the hatching process. Generally, the first candling should occur around day 7 of incubation. This is when the initial development of the embryo becomes visible. By this time, you should be able to see blood vessels and the first signs of a developing chick.
Subsequent Candling Sessions
After the first candling session, it’s advisable to candle again around day 14 and day 18. These subsequent sessions help in confirming the health of the developing chicks and removing any eggs that are no longer viable. Regular candling helps in maintaining optimal conditions in the incubator.
How to Candle Chicken Eggs
Candling chicken eggs is a straightforward process, but it requires care and precision. Here’s a step-by-step guide:
Step 1: Gather Your Tools
You’ll need a bright light source, such as a flashlight or a specialized egg candler. Ensure the light is strong enough to penetrate the eggshell.
Step 2: Prepare the Eggs
Carefully remove the eggs from the incubator. Handle them gently to avoid shaking or damaging the embryo.
Step 3: Candle the Eggs
Hold the egg up to the light source in a dark room. Look for signs of development, such as blood vessels and the shadow of the embryo. Note any eggs that show no signs of development.
Step 4: Return the Eggs
After candling, promptly return the eggs to the incubator to maintain the necessary temperature and humidity levels.
What to Look for When Candling
When candling, there are specific signs to look for that indicate healthy development:
Blood Vessels
By day 7, you should see a network of blood vessels inside the egg. This is a positive sign that the embryo is alive and developing.
Embryo Movement
If you notice any movement within the egg, it’s a good indication that the chick is growing healthily.
Clear Eggs
Eggs that appear clear after 7 days are likely infertile or have stopped developing. These eggs should be removed to improve the conditions for the other eggs.
Benefits of Candling Chicken Eggs
Candling offers several advantages for those involved in the hatching process:
Improved Hatch Rate
By removing non-viable eggs, you create a more suitable environment for the remaining eggs, thus increasing the likelihood of a successful hatch.
Better Management
Candling allows you to monitor and adjust the incubation conditions based on the development stage of the embryos, ensuring the best possible outcomes.
Educational Experience
Candling provides an opportunity to learn about the developmental stages of a chick, making it an educational activity for both adults and children.
Common Mistakes to Avoid
When candling chicken eggs, there are common mistakes that can be detrimental to the hatching process:
Frequent Handling
Avoid handling the eggs too often, as this can disrupt the development process. Stick to the recommended candling schedule.
Improper Lighting
Using a weak light source can make it difficult to see the embryo, leading to incorrect assessments. Ensure your light is bright enough for clear visibility.
Inadequate Humidity
Maintaining the correct humidity levels is crucial during incubation. Refer to this guide for tips on maintaining appropriate humidity levels within your incubator.
FAQ
How often should I candle chicken eggs?
It’s recommended to candle the eggs at least three times during the incubation period: on day 7, day 14, and day 18.
What if I see no development during candling?
If there is no visible development by day 7, the egg is likely infertile or the embryo has stopped developing. These eggs should be removed.
Can I candle eggs without special equipment?
Yes, a strong flashlight can be used for candling. However, specialized egg candlers are designed for better visibility and ease of use.
For further reading on the incubation process, you can visit this beginner’s guide for comprehensive information.
In conclusion, understanding when to start candling chicken eggs and how to do it properly is vital for anyone involved in the hatching process. With the right techniques and timing, candling can significantly enhance your hatching success, providing a rewarding experience for chicken enthusiasts.
This article contains affiliate links. We may earn a commission at no extra cost to you.
