
For those passionate about raising chickens, understanding the portable chicken incubator use is essential. These handy devices have revolutionized egg hatching, offering flexibility and ease for both beginners and seasoned farmers. By embracing a portable chicken incubator, enthusiasts can ensure a higher success rate in hatching eggs, making the process both efficient and rewarding.
Introduction to Portable Chicken Incubators
Portable chicken incubators are compact devices designed to simulate the necessary conditions for incubating eggs. They maintain the ideal temperature and humidity levels, crucial for the development and hatching of eggs. The portability aspect allows users to move the incubator as needed, providing convenience and adaptability.
Why Use a Portable Incubator?
The primary reason for using a portable chicken incubator is the flexibility it offers. Unlike traditional incubators, these can be easily relocated, making them perfect for small-scale operations or hobbyists who might need to change locations frequently. Additionally, they are generally easier to operate, requiring less space and power.
Setting Up Your Portable Incubator
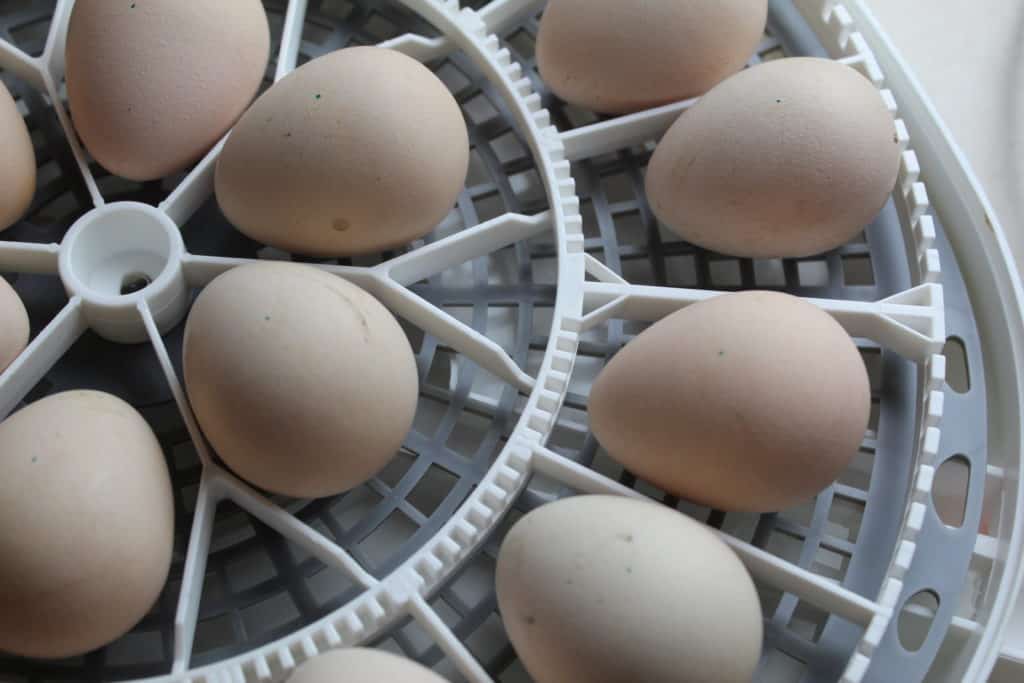
Setting up a portable incubator is straightforward. Start by placing the incubator on a stable surface away from direct sunlight and drafts. Ensure it is plugged into a reliable power source. Adjust the settings to reach the recommended temperature and humidity levels, which can be found in this temperature guide.
Preparing Eggs for Incubation
Before placing eggs in the incubator, they should be clean and free from cracks. It’s crucial to store them properly, as detailed in this storage guide. Proper storage ensures that the eggs are in optimal condition for incubation.
Monitoring Temperature and Humidity
Consistent monitoring of temperature and humidity is vital for successful hatching. A portable incubator usually comes with built-in sensors and displays for easy monitoring. However, it is advisable to manually check these parameters regularly. For more tips on maintaining humidity, see this humidity maintenance guide.
Turning the Eggs
Turning the eggs is an essential part of the incubation process. It prevents the yolk from sticking to the shell and promotes even development. Most portable incubators have an automatic turning feature, but manual turning is also effective. Learn more about turning eggs here.
Candling Eggs
Candling is the process of shining a light through the egg to observe its development. This practice helps identify infertile eggs or those that have stopped developing. Regular candling can improve overall hatching success rates. For a detailed guide, visit this candling guide.
Handling Incubator Failures
Despite best efforts, incubator failures can occur. It’s important to identify issues early, such as power failures or faulty equipment, to minimize their impact. Regular maintenance and backups can help mitigate these risks. For comprehensive steps on handling failures, check this external guide.
Hatching and Post-Hatch Care
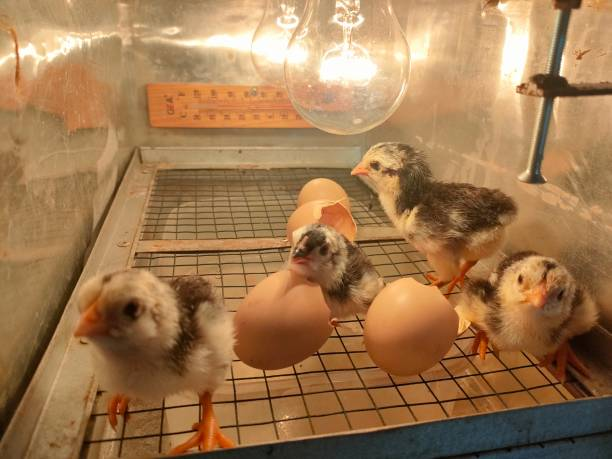
Once the chicks hatch, it’s crucial to move them to a brooder with proper heat and conditions to ensure their survival. They need access to food and water immediately. Monitoring and regular health checks will aid in their growth and development.
FAQs About Portable Chicken Incubators
1. How often should eggs be turned in a portable incubator?
Eggs should ideally be turned 3 to 5 times a day to ensure proper development.
2. What is the ideal temperature for incubating chicken eggs?
The ideal temperature is around 99.5F (37.5C). Consistency in temperature is key to successful hatching.
3. How long does the incubation process take?
The incubation process typically takes 21 days for chicken eggs. However, it may vary slightly based on specific conditions and egg type.
This article contains affiliate links. We may earn a commission at no extra cost to you.


