
Setting up an incubator for chicken eggs is an essential task for anyone interested in poultry farming or simply raising chickens at home. A well-prepared incubator ensures that your eggs have the best chance of hatching successfully, which is a rewarding experience for any chicken lover.
In this article, we will delve into the incubator setup for chicken eggs, providing you with comprehensive information on how to create the ideal environment for your eggs to thrive.
Understanding the Basics of Egg Incubation
Before diving into the setup, it’s important to understand the basics of egg incubation. The process involves maintaining specific conditions to mimic the natural environment a hen would provide. These conditions include temperature, humidity, and ventilation.
Temperature Control
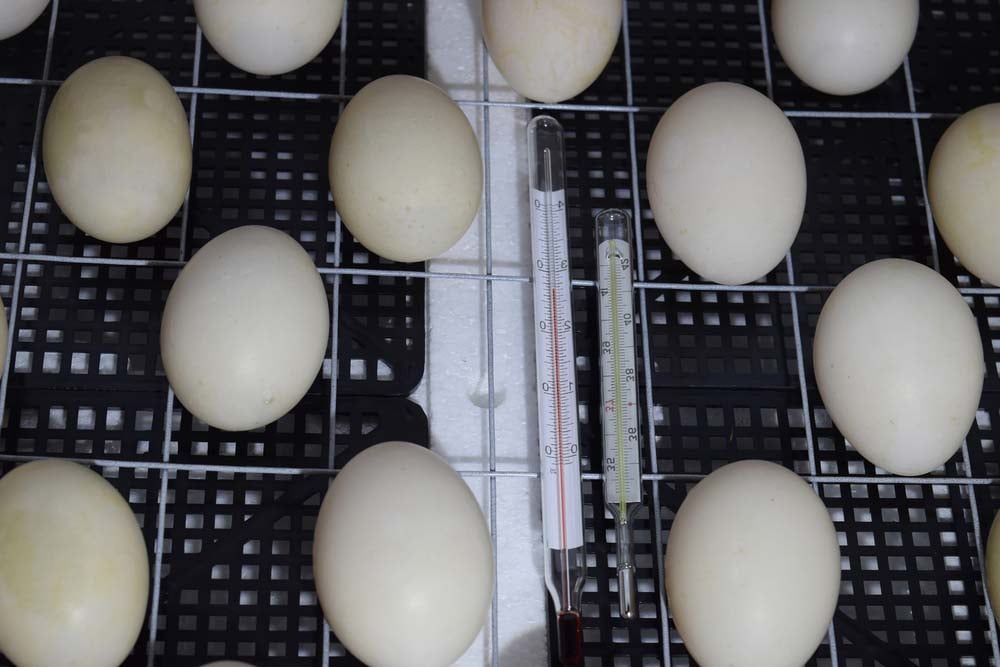
Temperature is arguably the most critical factor in incubator setup. For chicken eggs, the ideal temperature is around 99.5F (37.5C). Consistency is key, as fluctuations can harm embryo development.
Humidity Levels
Maintaining the right humidity is essential to prevent the eggs from losing too much moisture. Typically, a humidity level of about 50-55% is recommended for the first 18 days, increasing to 65-70% during the final days before hatching.
Ventilation Needs
Proper ventilation is necessary to ensure fresh air circulates within the incubator. Eggs need oxygen for the developing embryos and to release carbon dioxide.
Choosing the Right Incubator
There are various types of incubators available, each with its features. When choosing an incubator, consider factors such as size, capacity, and ease of use.
Types of Incubators
- Still Air Incubators
- Forced Air Incubators
- Automatic Turning Incubators
Each type has its advantages and may suit different needs depending on your setup.
Size and Capacity
Consider the number of eggs you plan to incubate. Incubators come in various sizes, so choose one that matches your needs.
Ease of Use
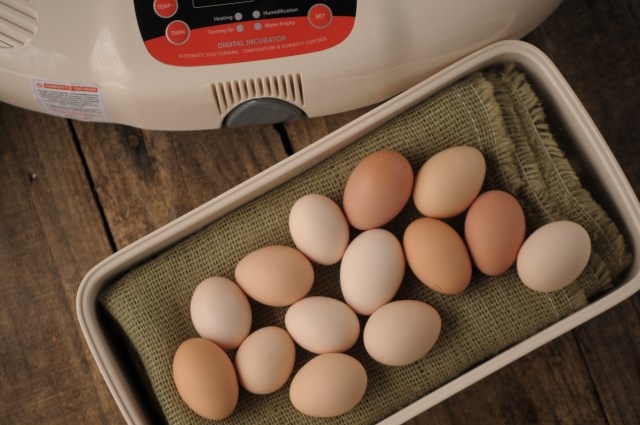
Look for incubators that are user-friendly, with features such as digital displays and automatic turning.
Setting Up Your Incubator
Once you have your incubator, it’s time to set it up for optimal performance.
Calibrating the Incubator
Before placing your eggs, ensure the temperature and humidity are correctly set. Use a reliable thermometer and hygrometer to check these settings.
Preparing the Incubator
Clean the incubator thoroughly to prevent bacteria from affecting the eggs. Ensure all components are in good working order.
Placing the Eggs
Place the eggs with the pointed end facing downward. This position is crucial for proper embryo development.
Monitoring the Incubation Process
Regular monitoring is essential to ensure the incubation process is proceeding smoothly.
Temperature and Humidity Checks
Check the temperature and humidity levels daily. Make necessary adjustments to maintain consistency.
Turning the Eggs
If your incubator does not have an automatic turning feature, manually turn the eggs three to five times a day to prevent the embryo from sticking to the shell.
Preparing for Hatching
As the hatching day approaches, make final preparations to ensure a successful hatch.
Increasing Humidity
Increase the humidity levels to 65-70% to help the chicks break through the shell.
Minimizing Disturbances
Avoid opening the incubator frequently during the last few days to maintain stable conditions.
Post-Hatching Care
Once the chicks have hatched, provide them with the care they need to thrive.
Proper Nutrition
Feed the chicks a balanced diet suitable for their stage of growth. You can learn more about feeding chicks here.
Maintaining a Clean Environment
A clean living space is essential for the health of your chicks. Read about natural coop cleaning methods here.
Common Challenges and Solutions
Understanding potential challenges can help you prepare solutions in advance.
Temperature Fluctuations
Use a backup power source to maintain temperature if there are power outages.
Humidity Imbalance
Adjust water reservoirs to stabilize humidity levels within the incubator.
Egg Fertility Issues
Ensure eggs are fertilized and stored correctly before incubation.
Conclusion
Setting up an incubator for chicken eggs requires attention to detail and patience. By following these guidelines, you can create an ideal environment for your eggs to hatch successfully. Remember, the process may seem complex initially, but with practice, it becomes a rewarding experience.
FAQs
How long does it take for chicken eggs to hatch?
Chicken eggs typically take 21 days to hatch under optimal conditions.
Can I use a homemade incubator?
Yes, a homemade incubator can work if it maintains consistent temperature and humidity levels.
What should I do if the eggs don’t hatch on time?
If the eggs don’t hatch after 21 days, give them a few extra days. If there’s no progress, check the conditions and consider discarding the eggs.
For more detailed information on egg incubation, visit this article.
This article contains affiliate links. We may earn a commission at no extra cost to you.


