Welcome, chicken lovers! If you’ve ever wondered how to make your chickens even more delicious, the answer is here. Electric roasting pans are a terrific piece of kitchen technology that can help you achieve those perfect roasts every time.
In this article, we’ll explore how to use an electric roasting pan to its fullest potential. Whether you’re an experienced chef or a beginner, these tips are all approved by cooking experts, ensuring delightful results every time.

What is an Electric Roasting Pan?
Before we delve into the actual usage, its vital to understand what an electric roasting pan is. Essentially, it is a convenient, countertop appliance that allows you to roast, bake, and slow-cook various foods. From poultry to veggies, this pan can handle it all.

Why Choose an Electric Roasting Pan?
The benefits of using an electric roasting pan are numerous:
- Efficiency: It uses less electricity compared to a conventional oven.
- Space-saving: Ideal for small kitchens or during holidays when stove space is limited.
- Uniform Cooking: Excellent for even heat distribution and consistent cooking.

Getting Started with an Electric Roasting Pan
Reading the Manual
First and foremost, read the manual. This might sound basic, but each roasting pan has specific features that you should be familiar with.
Initial Setup
Before you use your roasting pan for the first time, wash all removable parts with warm, soapy water and dry them thoroughly. Ensure all parts are correctly assembled as per the manual.
Basic Operations
Preheating the Roasting Pan
Preheating is essential. Set the temperature dial according to the recipe and allow the pan to heat up for about 15 minutes.
Preparing Your Chicken
Prepare your chicken as per your favorite recipe. You can marinate it, season it with herbs, or stuff it with your preferred fillings.
Placing the Chicken in the Pan
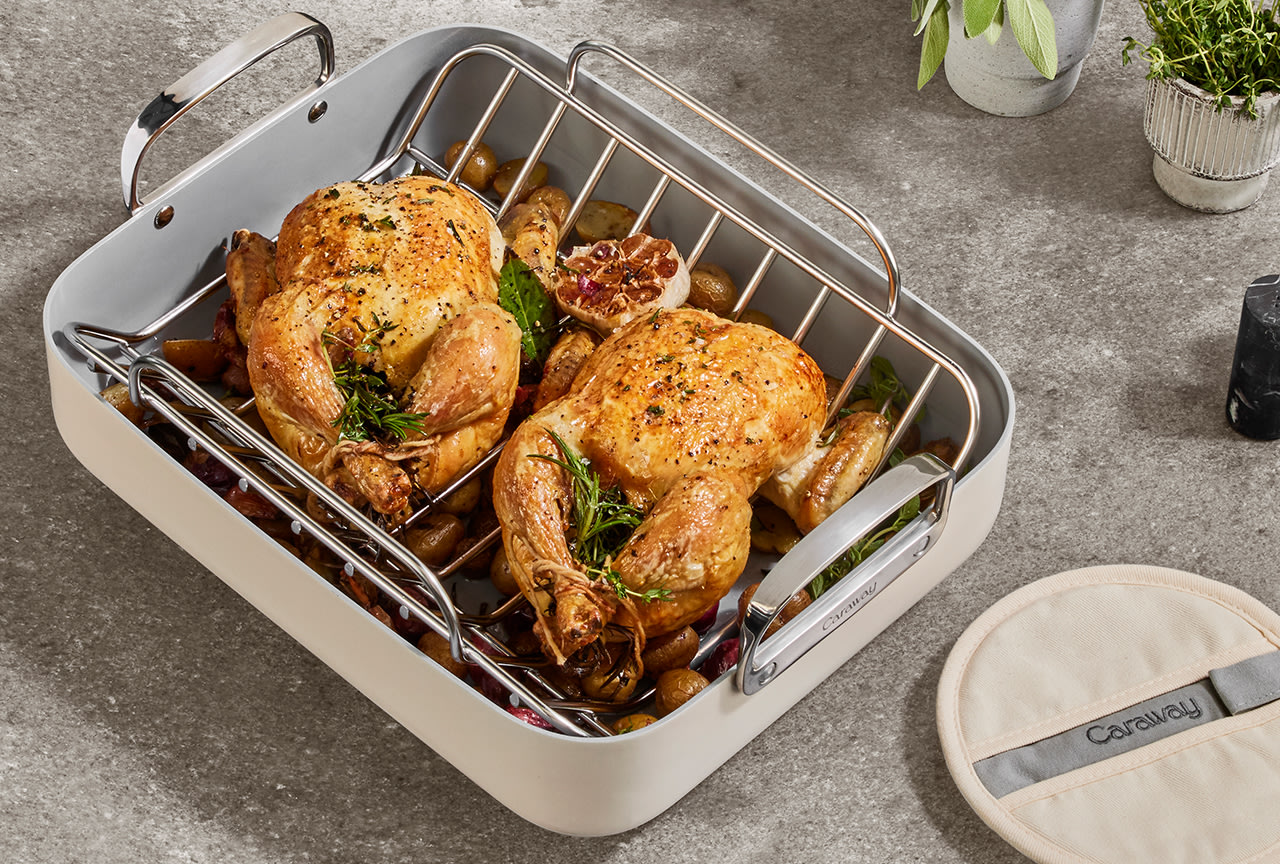
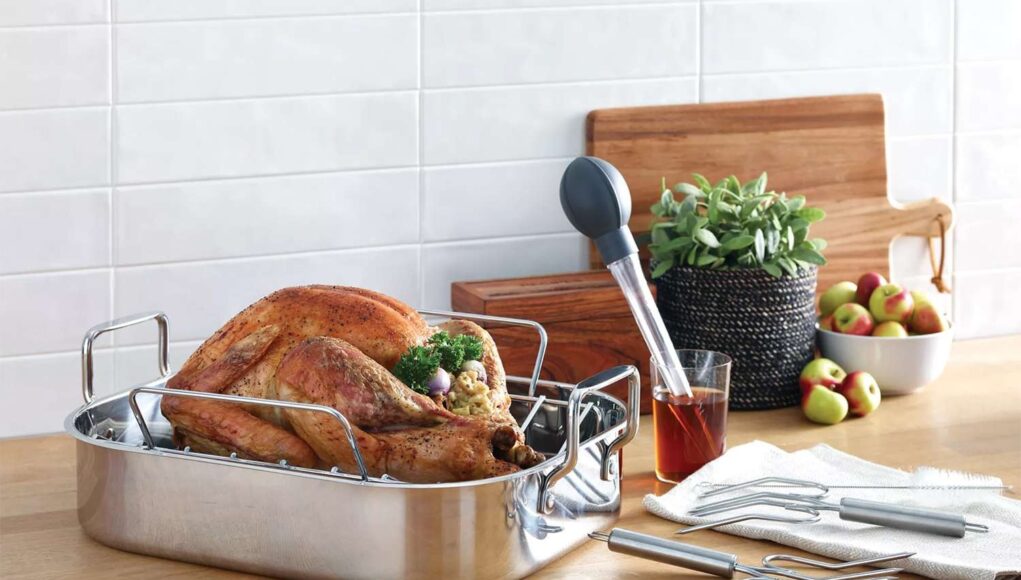
Place the chicken inside the roasting pan on the rack provided. Ensure the chicken is centered to allow even cooking.
Advanced Features
Temperature Control
Most electric roasting pans come with an adjustable thermostat that allows for precise temperature settings. Use this to your advantage to achieve the desired cooking results.
Using the Lid
Keep the lid on during cooking to retain heat and moisture. This ensures your chicken is juicy and flavorful.
Maintenance Tips
Cleaning the Roasting Pan
Always unplug the pan before cleaning. Use non-abrasive cleaners and avoid submerging the base in water.
Storing the Roasting Pan
Store in a cool, dry place. Ensure all parts are thoroughly dried before reassembling and boxing them.
Common Mistakes to Avoid
Here are some pitfalls to avoid:
- Overcrowding the pan
- Not preheating
- Using the wrong temperature settings
Conclusion
There you have it, folks! With these steps, you’re all set to make the most out of your electric roasting pan. Enjoy your perfectly roasted chicken and happy cooking!
Want to learn more about kitchen tools? Check out this Roasting Pan Guide.
FAQs
1. Can I cook other meats in an electric roasting pan?
Yes, you can cook various meats including turkey, beef, and pork. Just adjust the temperature settings accordingly.
2. How long should I preheat my electric roasting pan?
Generally, you should preheat for about 15 minutes. However, refer to your manual for specific instructions.
3. How do I know when my chicken is done?
Use a meat thermometer to check the internal temperature. It should reach 165F for chicken.
Further Reading
For more tips and recipes, visit Pan Mastery.
As an Amazon Associate, I earn from qualifying purchases.


