
For those passionate about poultry and egg hatching, understanding how to use a candler with incubator eggs is an essential skill. This process not only ensures the health and viability of the eggs but also maximizes the success rate of hatching. Let’s delve into the details and explore the steps involved in candling eggs during incubation.
What is Egg Candling?
Egg candling is a technique used to observe the development of the embryo inside an egg. By shining a light through the egg, you can monitor its growth and identify any issues early on. This method is crucial for determining the viability of the eggs and ensuring successful hatching.
Why Use a Candler?
Using a candler during incubation helps in identifying infertile eggs, detecting early embryonic death, and monitoring the overall health of the developing chick. It allows you to remove non-viable eggs, preventing them from affecting the healthy ones. For more detailed guidance on incubation, visit Farmbrite’s guide.
Choosing the Right Candler
Not all candlers are created equal. Selecting the right candler is vital for accurate results. Look for a device with a strong, focused light that can penetrate the shell without overheating the egg.
Preparing Your Incubator
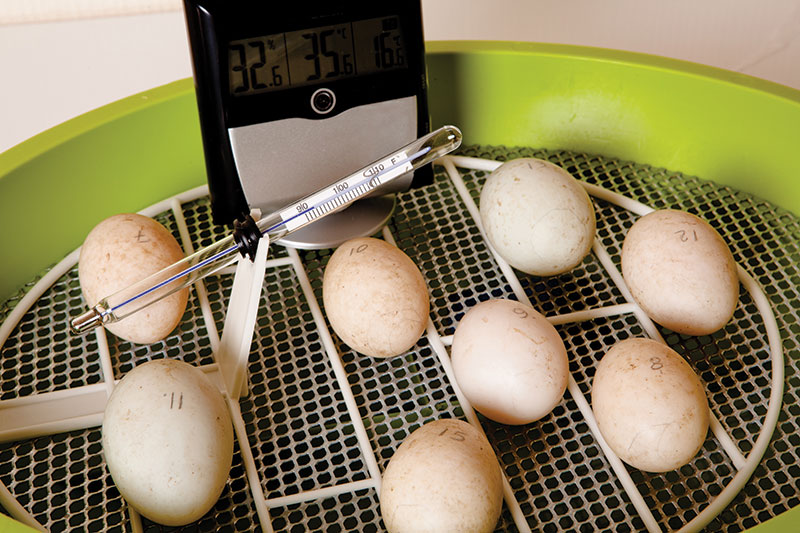
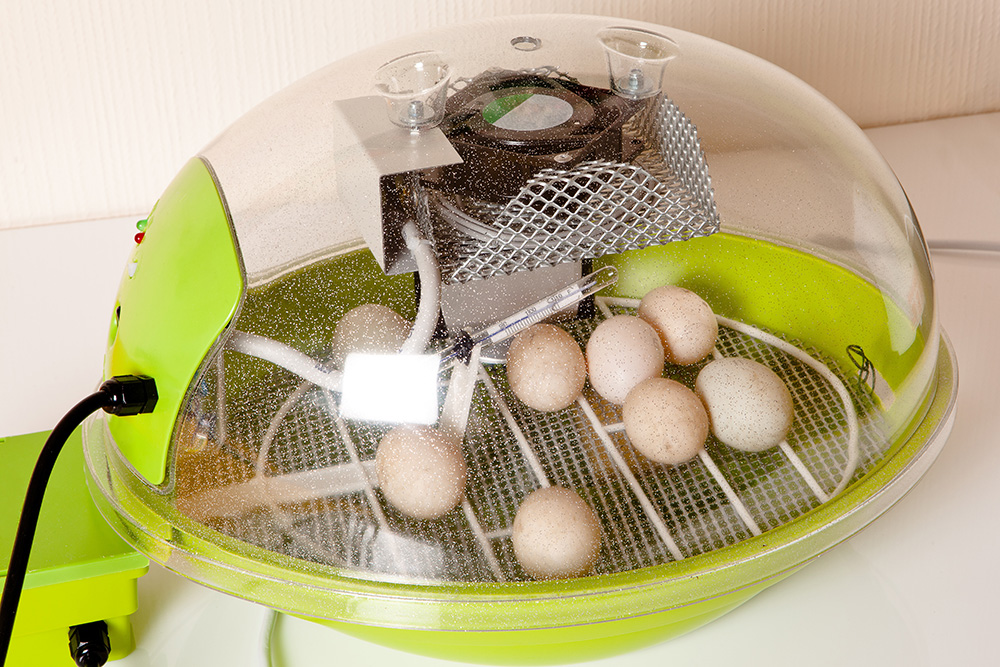
Before you start candling, ensure your incubator is set up correctly. This includes maintaining the right temperature and humidity levels. For tips on maintaining humidity, check out incubator humidity hacks.
Steps to Candle Incubator Eggs
Step 1: Gather Your Tools
To begin, gather all necessary tools, including a candler, a notebook for recording observations, and a clean, dark room.
Step 2: Timing is Key
Candling should be done at multiple stages, typically around days 7, 14, and 18 of incubation. This timing helps in tracking development and intervening if necessary.
Step 3: How to Candle
Place the egg on the candler with the pointed end facing down. Shine the light through the broad end of the egg and observe the interior.
Step 4: Recording Observations
Note any visible blood vessels, the position of the embryo, and overall egg condition. Recording these details helps in tracking progress and making informed decisions.
What to Look For
Signs of a Healthy Egg
A healthy egg will show a network of blood vessels and a visible embryo that moves when the egg is gently rotated.
Identifying Infertile Eggs
Infertile eggs appear clear with no visible development. These should be removed to prevent contamination.
Common Candling Mistakes
Avoid Over-Candling
Handle eggs as little as possible to avoid disrupting the embryo. Over-candling can lead to stress and decreased hatching success.
Using Incorrect Lighting
Avoid using too bright or too dim lights, as they can either damage the embryo or fail to show details clearly.
Enhancing Your Candling Skills
Practice and Patience
Like any skill, candling improves with practice. Be patient and take your time to learn the nuances of egg development.
Seek Expert Advice
For more insights, consider consulting with experienced hatchers or referring to reliable resources like this guide on incubator hatching.
Frequently Asked Questions
How often should you candle eggs?
It is recommended to candle eggs three times during incubation: at 7 days, 14 days, and 18 days.
What type of light is best for candling?
A focused LED light or a specialized candler is ideal for clear visibility without overheating the egg.
Can candling harm the eggs?
When done correctly, candling does not harm the eggs. It’s essential to handle them gently and avoid excessive exposure to light.
Understanding how to use a candler with incubator eggs can significantly enhance your egg hatching success. By following these guidelines, you can ensure a healthy and thriving flock. For additional tips and troubleshooting, explore our troubleshooting guide.
This article contains affiliate links. We may earn a commission at no extra cost to you.


