
For those who are passionate about chicken rearing, understanding how to track hatching progress is vital. Tracking the hatching process not only ensures healthy chicks but also maximizes hatch rates. Whether you’re a beginner or a seasoned poultry enthusiast, having a clear grasp of the process can significantly enhance your hatching success. In this article, we’ll delve into the intricacies of tracking hatching progress and offer useful tips and tools to help you along the way.
The Importance of Tracking Hatching Progress
Tracking the progress of hatching is crucial to ensure the health and viability of the chicks. It allows for timely interventions if things go awry. By keeping a close eye on the hatching progress, you can make necessary adjustments, such as modifying temperature or humidity levels, to create the perfect environment for your eggs.
Understanding the Hatching Process
Before we dive into tracking methods, it’s essential to understand the hatching process itself. The incubation period for chicken eggs is typically 21 days. During this time, the embryo undergoes various stages of development. Familiarity with these stages helps in recognizing any anomalies or issues early on.
Stages of Embryo Development
1. Early Development (Days 1-7): The heart begins to beat, and the embryo starts forming.
2. Mid Development (Days 8-14): The embryo grows rapidly, and feathers begin to form.
3. Late Development (Days 15-21): The chick prepares for hatching, absorbing the yolk sac for nourishment.
Essential Tools for Tracking Hatching Progress
Tracking hatching progress can be simplified with the right tools. Let’s explore some essential equipment you might need.
Incubators
Incubators are crucial for maintaining optimal conditions. Look into the Incubator Guide for tips on troubleshooting common issues.
Candling Devices
Candling is a technique used to observe the development inside the egg. A simple flashlight can serve this purpose, allowing you to check embryo growth without opening the egg.
Temperature and Humidity Monitors
Monitoring temperature and humidity is vital. Refer to humidity hacks for maintaining the perfect balance.
Steps to Track Hatching Progress
Now that we have our tools, let’s look at the steps involved in tracking hatching progress effectively.
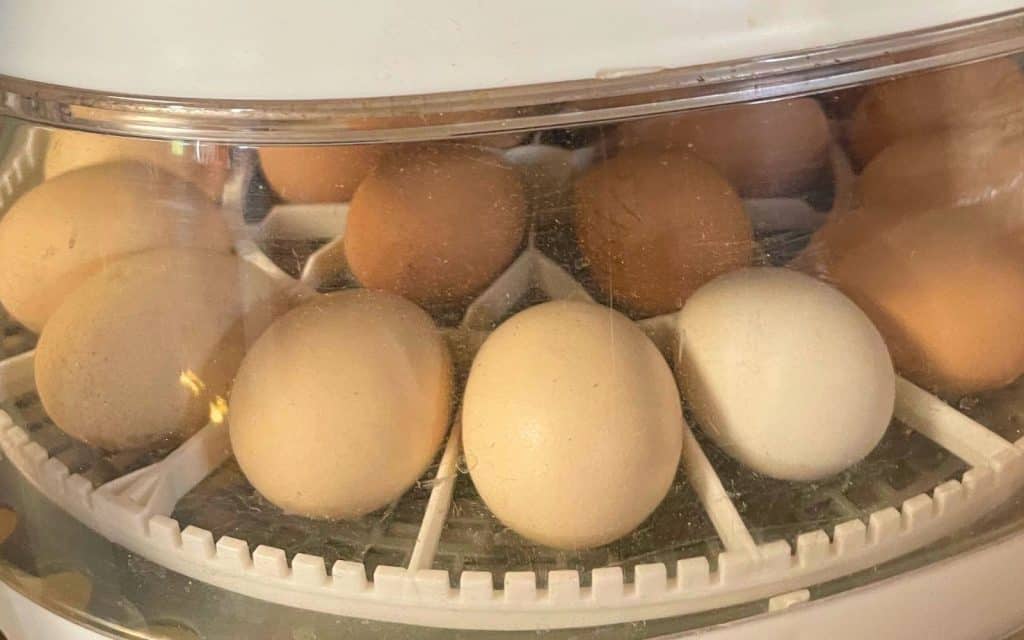
Setting Up the Incubator
Ensure the incubator is clean and functioning correctly. Set the temperature to around 99.5F and maintain humidity at approximately 50%.
Regular Candling
Candle the eggs at least three times during the incubation periodaround days 7, 14, and 18to check for signs of development.
Monitoring Temperature and Humidity
Use reliable monitors to keep track of temperature and humidity levels. Make adjustments as needed to maintain consistency.
Handling Eggs with Care
Handle the eggs gently and minimize movement. Avoid opening the incubator frequently to maintain stable conditions.
Identifying and Addressing Issues
Even with careful tracking, issues may arise. Heres how to identify and address common problems.
Infertile Eggs
During candling, infertile eggs will appear clear. Remove them to prevent contamination.
Temperature Fluctuations
Sudden temperature changes can harm embryos. Adjust the incubator settings and consider using a backup power source.
Humidity Problems
Low humidity can cause shrink-wrapping, while high humidity may lead to drowning. Adjust humidity levels based on recommendations from Incubating Eggs in Hot Climates.
When to Expect Hatching
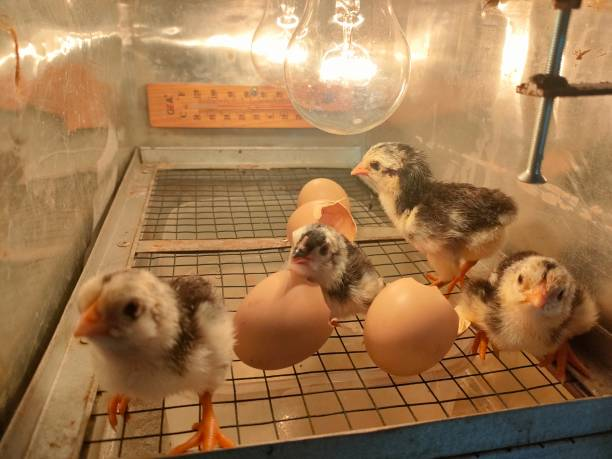
By day 21, you should notice signs of hatching. Listen for chirping and watch for pippingwhen the chick breaks through the shell.
Assisting in Hatching
Sometimes, chicks may struggle to hatch. If necessary, carefully assist them, but only if its essential. Learn more about this at Care and Incubation of Hatching Eggs.
Post-Hatching Care
Once the chicks have hatched, transfer them to a brooder with a heat source. Ensure they have access to clean water and starter feed.
Observing Chicks
Keep an eye on the chicks for the first few days to ensure they’re thriving. Healthy chicks should be active and alert.
Conclusion
Tracking the progress of your eggs during incubation is a rewarding task that requires attention to detail and patience. With the right tools and knowledge, you can significantly improve your hatching success rates. For more insights and tips on rearing chickens, explore our Best Practices for Egg Collection.
FAQs
What is candling, and why is it important?
Candling is a method of checking the development inside an egg using a light source. It helps in identifying viable embryos and detecting any issues early on.
How often should I candle the eggs?
Candle the eggs at least three times: around day 7, day 14, and day 18 of the incubation period.
What should I do if the eggs arent hatching by day 21?
If the eggs havent hatched by day 21, give them a few extra days. Some factors, like slight temperature variations, can delay hatching. Ensure conditions are optimal and be patient.
This article contains affiliate links. We may earn a commission at no extra cost to you.


