
When it comes to raising chickens, one of the most critical steps is how to separate hatched chicks in an incubator. This process ensures the health and safety of your newly hatched chicks. For chicken enthusiasts and farmers alike, understanding the right techniques for separating chicks can make a significant difference in their survival and well-being.
Proper separation is vital as it prevents overcrowding, reduces stress, and minimizes the risk of injury among the chicks. In this guide, we’ll walk you through the best practices and tips to make sure your chicks thrive after hatching.
Understanding the Need for Separation
Before diving into the separation process, it’s essential to understand why it’s necessary. Once chicks hatch, they need space to move freely and access to food and water without competition. Overcrowding can lead to stress, pecking, and even suffocation.
The Role of Incubators
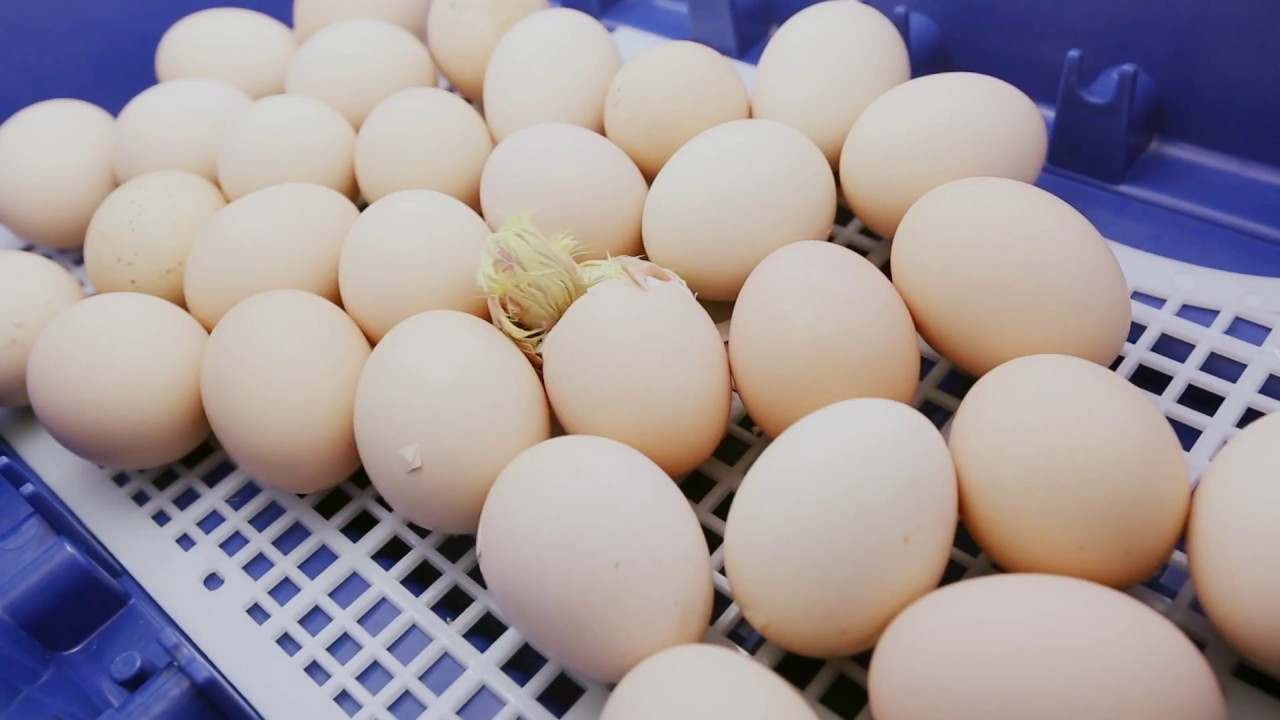
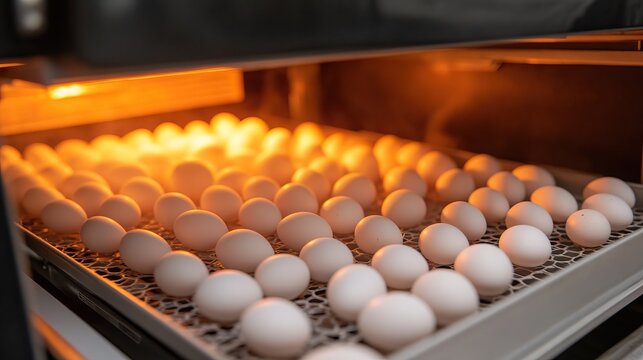
Incubators provide a controlled environment for eggs to hatch. They maintain the necessary temperature and humidity levels, ensuring a high hatch rate. However, once chicks are hatched, maintaining a suitable environment becomes crucial. Learn more about incubator environments.
When to Separate Chicks
Timing is everything when separating chicks. Typically, chicks should be removed from the incubator once they are dry and fluffed up. This usually takes about 24 hours after hatching. Keeping them in the incubator longer can lead to health issues.
Signs Chicks Are Ready
Look for signs such as dry feathers, active movement, and the ability to stand before moving them to a brooder. These indicators show that the chicks are ready for a new environment.
Setting Up a Brooder
A brooder is an essential setup for young chicks once they leave the incubator. It mimics the warmth and safety of a hen, providing chicks with a comfortable and secure environment. Setting up a brooder correctly is crucial for the chicks’ development.
Choosing the Right Brooder
Brooders can range from simple cardboard boxes to sophisticated setups with heat lamps and thermostats. Ensure your brooder is spacious, easy to clean, and provides even heat distribution. Discover more about brooder setups.
Steps to Separate Chicks
Separating hatched chicks involves several steps to ensure their safety and comfort. Follow these steps for a smooth transition:
Step 1: Prepare the Brooder
Before separation, ensure the brooder is ready with bedding, a heat source, and food and water. The temperature should be around 95F (35C) for the first week, gradually decreasing as the chicks grow.
Step 2: Gently Remove Chicks
Using clean hands or a soft cloth, gently pick up the chicks from the incubator. Be careful not to disturb any unhatched eggs or delicate chicks.
Step 3: Place Chicks in Brooder
Once removed, place the chicks in the brooder. Ensure they have access to food and water immediately. Monitor them for signs of distress or discomfort.
Monitoring Chicks Post-Separation
After separation, regular monitoring is crucial. Check on the chicks frequently to ensure they’re eating, drinking, and staying warm. Look out for any signs of illness or injury.
Common Issues
Be aware of common issues such as pasty butt, leg problems, or respiratory issues. Addressing these promptly can save your chicks from serious health problems.
Maintaining Brooder Hygiene
Keeping the brooder clean is essential for the chicks’ health. Regularly change the bedding and clean the water and food containers to prevent disease.
Choosing the Right Bedding
Opt for bedding that is absorbent and easy to clean, like pine shavings or straw. Avoid slippery materials that can cause leg injuries.
Feeding and Watering Tips
Proper nutrition is critical in the early stages of a chick’s life. Provide a balanced chick starter feed and ensure fresh water is available at all times.
Introducing Treats
As chicks grow, you can introduce small amounts of treats like mealworms or finely chopped greens. This not only provides nutrition but also encourages natural behaviors.
FAQs
Why is it necessary to separate chicks after hatching?
Separating chicks ensures they have enough space to grow and reduces the risk of injury and stress from overcrowding.
When should I move chicks to a brooder?
Chicks should be moved to a brooder once they are dry, fluffed, and showing signs of activity, usually within 24 hours of hatching.
What temperature should the brooder be set at?
The brooder should be set at 95F (35C) during the first week, gradually decreasing by 5F each week as the chicks grow.
Conclusion
Learning how to separate hatched chicks in an incubator is a crucial step in successful poultry care. By understanding the needs of your chicks and providing them with a safe and nurturing environment, you’ll be well on your way to raising healthy and happy chickens. For more detailed information on incubation and chick care, visit Stromberg’s Chicken Guide.
This article contains affiliate links. We may earn a commission at no extra cost to you.


