
For many aspiring poultry enthusiasts and chicken lovers, learning how to incubate fertilized store bought eggs is an exciting journey. Incubating eggs can be a rewarding experience, allowing you to witness the miracle of life from the comfort of your home. But to achieve success, it’s important to understand the fundamentals of egg incubation.
While purchasing fertilized eggs from a store, you might wonder if they can truly be incubated and hatched. Yes, they can! With the right techniques and conditions, you can increase your chances of successfully hatching chicks. In this guide, we will explore the step-by-step process to incubate these eggs, ensuring you have all the information needed for a successful hatch.
Understanding Fertilized Eggs
Before diving into the incubation process, it’s essential to understand what fertilized eggs are. These are eggs where a rooster has fertilized a hen, giving the potential for a chick to develop. Not all store-bought eggs are fertilized, so it’s crucial to verify their status before starting the incubation process.
Identifying Fertilized Eggs
To identify fertilized eggs, you can look for small white spots on the yolk, known as the germinal disc. These spots indicate fertilization. However, the most reliable method is to purchase eggs from a reputable supplier who guarantees fertilized eggs.
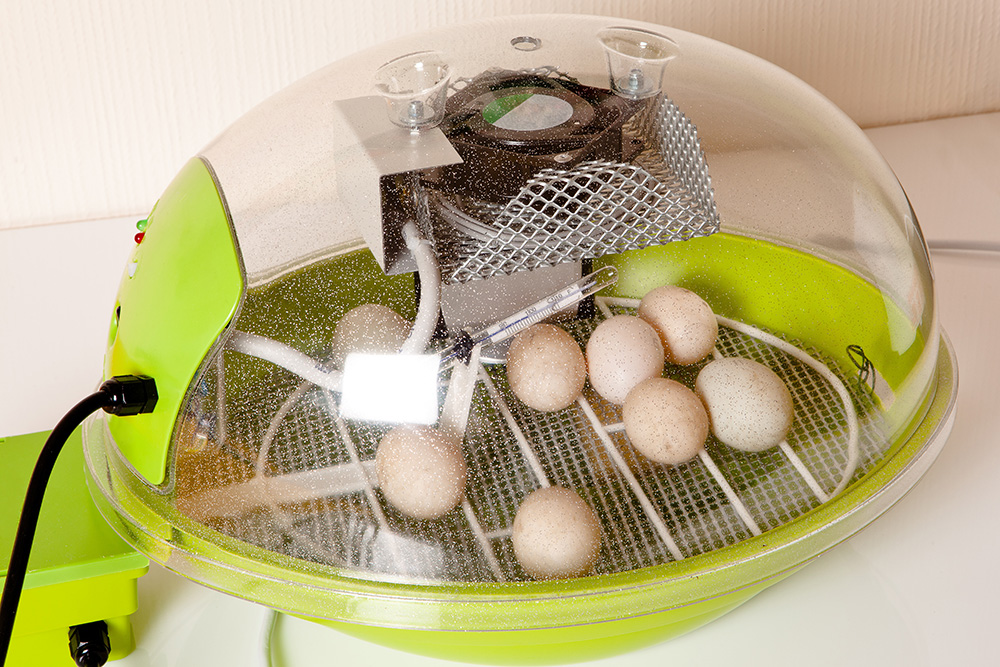
Gathering the Right Equipment
Successful incubation requires the right equipment. Here’s what you’ll need:
- Incubator: A device that maintains optimal temperature and humidity levels for egg development.
- Thermometer: To monitor temperature inside the incubator.
- Hygrometer: To measure humidity levels.
- Egg Turner: Optional, but helpful for turning eggs automatically.
For more detailed information on selecting and using an incubator, explore this beginner’s guide to hatching eggs.
Preparing the Incubator
Once you’ve gathered your equipment, it’s time to prepare the incubator. Follow these steps:
Setting the Temperature
Set the incubator to 99.5F (37.5C) for forced-air incubators and 101F (38.3C) for still-air incubators. It’s crucial to maintain a consistent temperature throughout the incubation period.
Maintaining Humidity
Humidity is vital for egg development. Aim for 40-50% humidity during the first 18 days and increase it to 65-75% in the final days before hatching. Learn more about humidity hacks to optimize conditions.
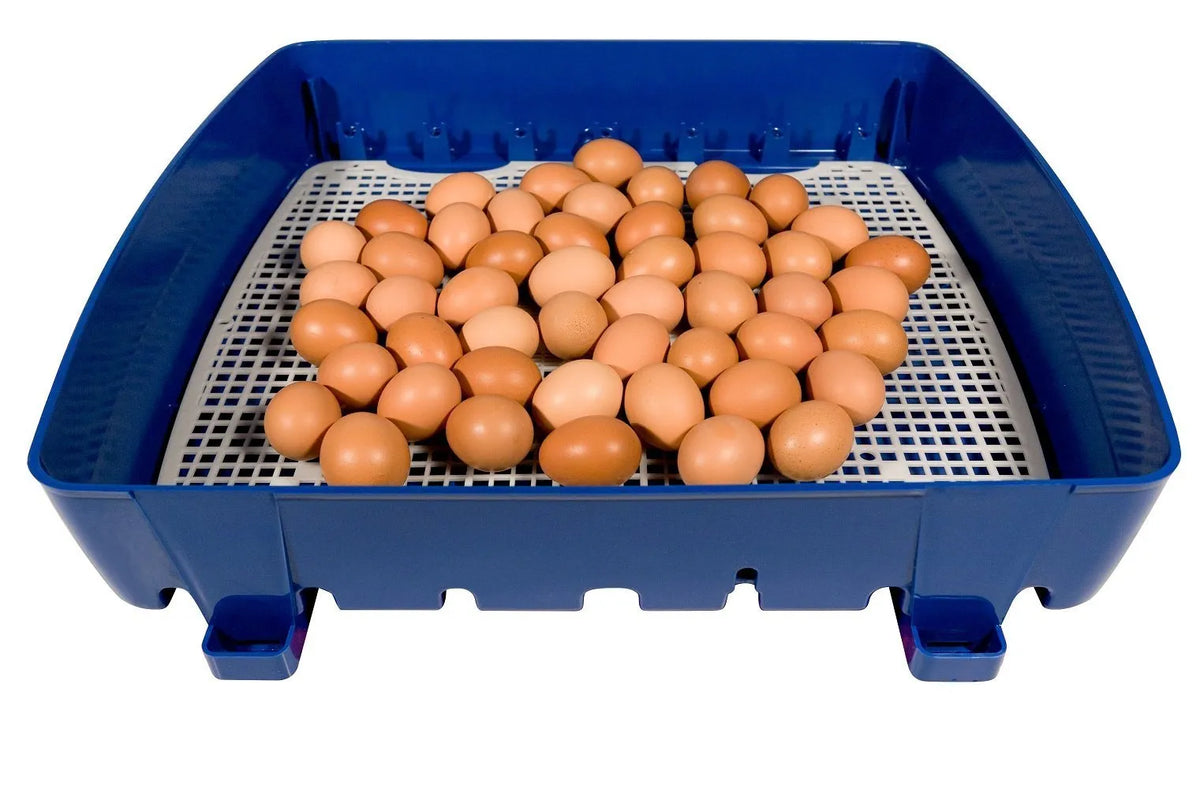
Preparing the Eggs
Before placing the eggs in the incubator, let them sit at room temperature for a few hours. This reduces the shock of temperature change, which can impact development.
Positioning the Eggs
Place the eggs in the incubator with the pointed end down. If you’re using an egg turner, ensure it’s set to turn the eggs several times a day.
Monitoring Progress
Throughout the incubation period, it’s essential to monitor the eggs’ progress. Candling is a technique used to check the development inside the egg.
Candling Eggs
Using a bright light, you can observe the embryo’s development. Candling is typically done around days 7 and 14. This helps you identify any eggs that aren’t developing properly.
Hatching Day
As the incubation period comes to an end, prepare for the chicks to hatch. Increase humidity levels and stop turning the eggs. The chicks will start to pip, or break through the shell, typically around day 21.
Assisting Hatching
While it’s tempting to help chicks hatch, it’s best to let them emerge naturally. However, if a chick is struggling after 24 hours of pipping, you might need to assist carefully.
Caring for New Chicks
Once the chicks have hatched, transfer them to a brooder with appropriate heat, food, and water. Ensure the brooder is warm, around 95F (35C), and decrease the temperature gradually each week.
Feeding and Watering
Provide a chick starter feed and fresh water. Make sure the water dish is shallow to prevent drowning.
Common Challenges
Incubating eggs can come with challenges, such as temperature fluctuations, humidity issues, and fertility problems. Refer to this troubleshooting guide for solutions to common problems.
Conclusion
Learning how to incubate fertilized store bought eggs is a fulfilling experience that requires patience and attention to detail. By following the steps outlined in this guide, you can increase your chances of successfully hatching healthy chicks. Remember, every batch of eggs is unique, and each incubation process is a learning journey. Enjoy the experience and the joy of raising your own chicks!
FAQs
Can store-bought eggs be fertilized?
Yes, but it’s essential to purchase from a supplier that guarantees fertilized eggs, as not all store-bought eggs are fertilized.
How long does it take for eggs to hatch?
Incubation typically takes around 21 days, but this can vary slightly depending on the breed and incubation conditions.
What should I do if an egg doesn’t hatch?
If an egg doesn’t hatch after a few days beyond the expected date, it may not have developed properly. It’s important to handle such situations with care and ensure proper disposal.
This article contains affiliate links. We may earn a commission at no extra cost to you.


