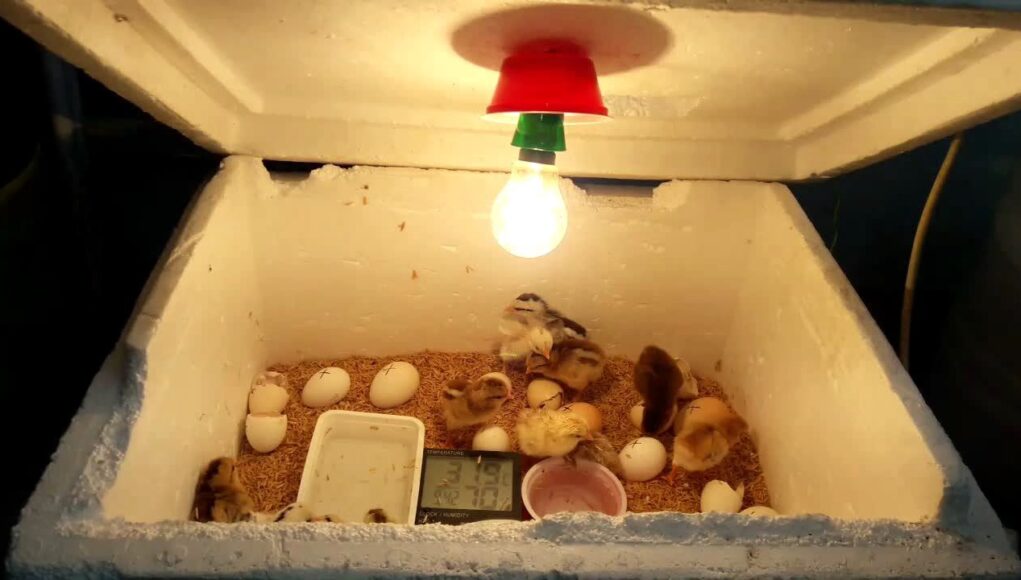
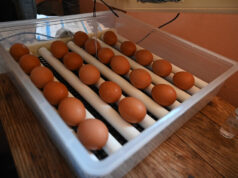
Raising chickens from eggs can be an exciting experience, especially when you witness the chicks break free from their shells. However, to ensure the health and safety of future batches, knowing how to disinfect an incubator after hatching is crucial. This step is essential to prevent the spread of diseases and maintain a clean hatching environment.
Disinfection of an incubator is an important process, especially after the hatching of chicks. It involves several steps that ensure a thorough clean-up of the incubator, making it ready for the next use. This guide will detail the process of how to properly disinfect your incubator, ensuring that you follow best practices for the health of your future chicks.

Why Disinfecting Your Incubator is Essential
After chicks hatch, the incubator is often left with bits of eggshells, feathers, and fluids. These remnants can harbor bacteria and fungi, leading to infections in future hatches. Proper disinfection eliminates these harmful elements, ensuring a healthy start for your next batch of eggs.
Understanding the Risks of Not Cleaning
Failing to disinfect your incubator can result in several issues such as bacterial infections, fungal growth, and even chick mortality. These risks highlight the importance of regular cleaning and maintenance. A dirty incubator can be a breeding ground for Salmonella, E. coli, and other pathogens, which can severely affect the health of your chicks.
Gathering Necessary Cleaning Supplies
Before you start, gather all the necessary supplies. This includes rubber gloves, a gentle detergent, a soft brush, disinfectant (such as bleach or a specialized incubator cleaner), and clean water. Having these on hand will make the cleaning process smoother and more efficient.
Choosing the Right Disinfectant
It’s important to choose a disinfectant that is safe for use around animals. Many people opt for a bleach solution, but there are also specialized products available that are designed specifically for incubators. Always follow the manufacturer’s instructions when using any disinfectant.
Step-by-Step Guide to Disinfecting Your Incubator
Step 1: Unplug and Disassemble
Ensure that the incubator is unplugged and cooled down. Carefully disassemble it, removing the trays and any other removable parts. This will make it easier to clean each component thoroughly.
Step 2: Remove Debris
Start by removing any visible debris, such as eggshells and feathers. Use a soft brush to gently sweep out these materials.
Step 3: Wash Components
Fill a basin with warm water and a gentle detergent. Wash the trays and removable parts, scrubbing them with a soft brush. Rinse thoroughly with clean water to remove any soap residue.
Step 4: Disinfect the Incubator
Prepare a disinfectant solution according to the product’s instructions. Use a clean cloth or sponge to apply the solution to all surfaces of the incubator, including the interior and removable parts. Allow it to sit for the recommended time to ensure effective disinfection.
Step 5: Rinse and Dry
After the disinfection process, rinse all components with clean water. Ensure that no disinfectant residue remains, as this can be harmful to future hatches. Dry all parts completely before reassembling the incubator.
Step 6: Reassemble and Test
Once everything is dry, reassemble the incubator. Plug it in and test it to make sure it’s working properly before placing new eggs inside.
Maintaining a Clean Incubator
Regular maintenance is key to keeping your incubator in optimal condition. Clean it after each hatching and perform a thorough disinfection at least once a month. This will help prevent the build-up of bacteria and ensure a healthy environment for your eggs.
Routine Checks
In addition to regular cleaning, perform routine checks on your incubator to ensure it runs efficiently. Check for any signs of wear and tear, and replace any damaged parts as needed.
Common Mistakes to Avoid
One common mistake is using harsh chemicals that can damage the incubator or leave harmful residues. Always use the recommended cleaning products and follow the instructions carefully. Additionally, avoid rushing the drying process; ensure all parts are completely dry before reassembly.
Learning from the Experts
For additional tips and guidance, consider reaching out to poultry experts or visiting reputable resources online. Websites such as The Poultry Site offer valuable information on incubation practices and maintenance.

FAQ Section
1. Can I use vinegar to disinfect my incubator?
Yes, vinegar is a natural disinfectant and can be used to clean your incubator. However, it may not be as effective as bleach or specialized disinfectants in killing all pathogens.
2. How often should I disinfect my incubator?
It’s best to disinfect your incubator after each hatching cycle. Regular maintenance and cleaning should also be performed at least once a month.
3. What temperature should I set my incubator to after cleaning?
After cleaning, set your incubator to the appropriate temperature for the type of eggs you plan to incubate. This varies depending on the species, so refer to specific guidelines for your needs.
For more insights on maintaining a healthy environment for your chickens, check out cleaning chicken coops naturally. This will help you keep your entire setup in top condition for your feathered friends.
This article contains affiliate links. We may earn a commission at no extra cost to you.


