
Are you wondering how to clean a chicken incubator effectively? Keeping your incubator spotless is crucial for the health and success of your hatching process. In this guide, well walk you through every step to ensure your incubator is as clean as possible, reducing the risk of contamination and enhancing the chances of a successful hatch.
Why Cleaning Your Chicken Incubator is Important
Cleaning your incubator is essential to maintain a healthy environment for your eggs. A dirty incubator can harbor bacteria and mold, which can seriously affect the development of the embryos. Regular cleaning ensures that your chicks start their life in a safe and sanitary setting.
In addition, a clean incubator helps maintain the necessary humidity and temperature levels, which are critical for successful hatching. By keeping your incubator spotless, you increase the likelihood of a high hatch rate and healthy chicks.
Preparation Before Cleaning
Gather Your Cleaning Supplies
Before you start cleaning, make sure you have all the necessary supplies. You will need:
- Warm water
- Mild detergent or soap
- A soft brush or sponge
- Disinfectant (preferably one safe for poultry)
- Clean towels or paper towels
Unplug and Disassemble the Incubator
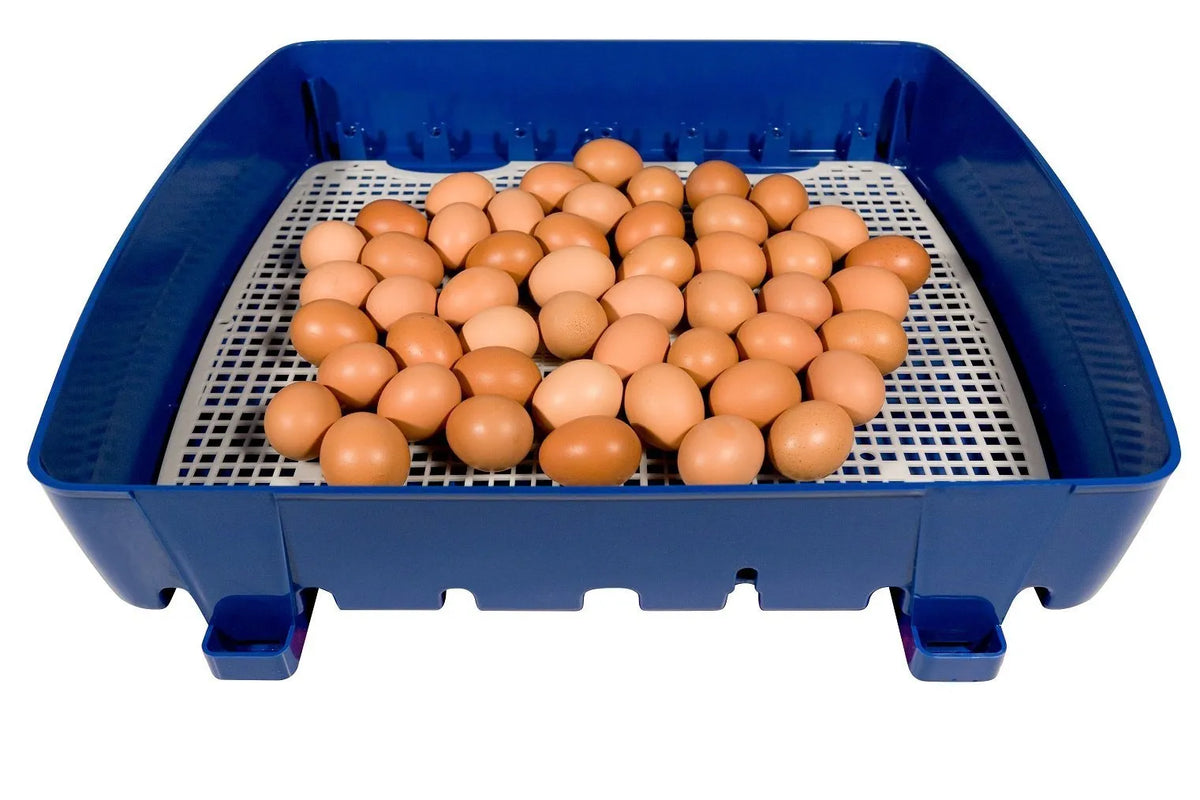
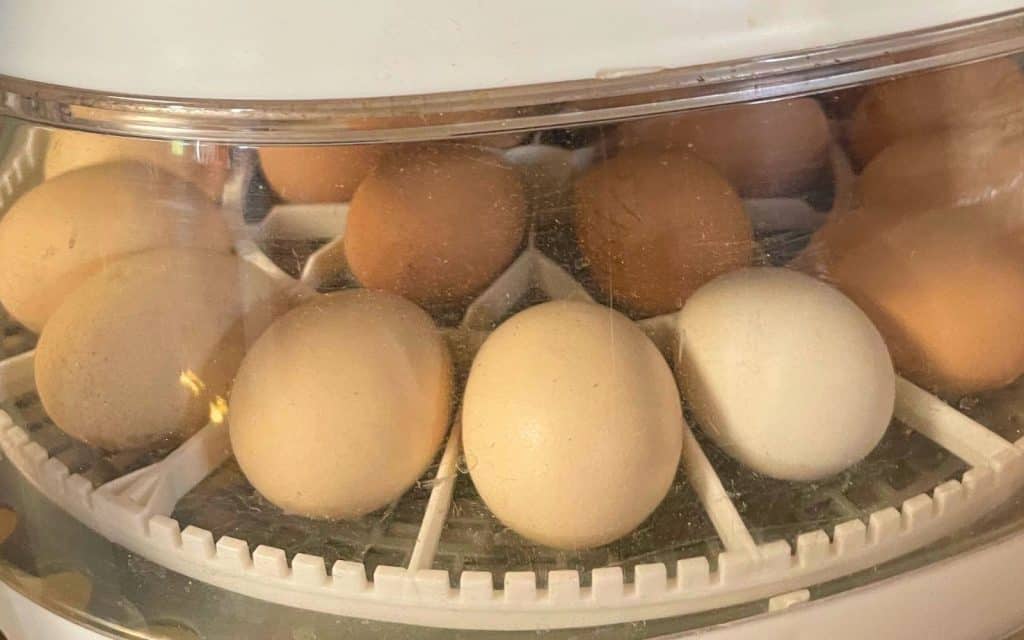
Always unplug your incubator before cleaning. Carefully disassemble any removable parts such as the trays, lids, and any other components. This will make cleaning each part easier and more thorough.
Step-by-Step Guide to Cleaning
Initial Rinse
Start by rinsing the incubator and its parts with warm water. This will help remove any loose debris or residue. Ensure that water does not enter any electrical components.
Washing with Detergent
Using a mild detergent and a soft brush or sponge, gently scrub all surfaces of the incubator. Pay special attention to corners and crevices where dirt and bacteria might accumulate. Rinse thoroughly with clean water.
Disinfection
After washing, apply a poultry-safe disinfectant to all parts of the incubator. Follow the manufacturers instructions for proper usage and ensure that all surfaces are evenly coated. Let the disinfectant sit for the recommended time to ensure effectiveness.
Drying
Use clean towels or paper towels to dry all parts of the incubator. Ensure that there is no moisture left, as this can promote bacterial growth. Allow the parts to air dry completely before reassembling.
Reassemble and Test
Once everything is dry, carefully reassemble your incubator. Plug it in and test it to make sure it is functioning properly. Check the settings for temperature and humidity to ensure they are at the optimal levels for hatching.
Regular Maintenance Tips
To maintain a clean incubator, perform regular checks and cleanings. After each batch of eggs, inspect and clean your incubator to prevent any bacterial buildup. Consistent maintenance will prolong the life of your incubator and improve the success of your hatching process.
Stay Informed
Stay updated with the latest guidelines and techniques for using and maintaining your incubator. Being informed will help you make the best decisions for your poultry care.
FAQs
How often should I clean my chicken incubator?
It’s best to clean your chicken incubator after each batch of eggs to ensure a hygienic environment for future hatches.
Can I use bleach to disinfect my incubator?
While bleach can be effective, its crucial to use it in a well-ventilated area and rinse thoroughly to avoid leaving any residue that could harm the eggs.
What should I do if my incubator smells bad?
A bad smell is often a sign of bacterial growth. Clean your incubator immediately using the steps outlined in this guide to eliminate the odor.
This article contains affiliate links. We may earn a commission at no extra cost to you.


