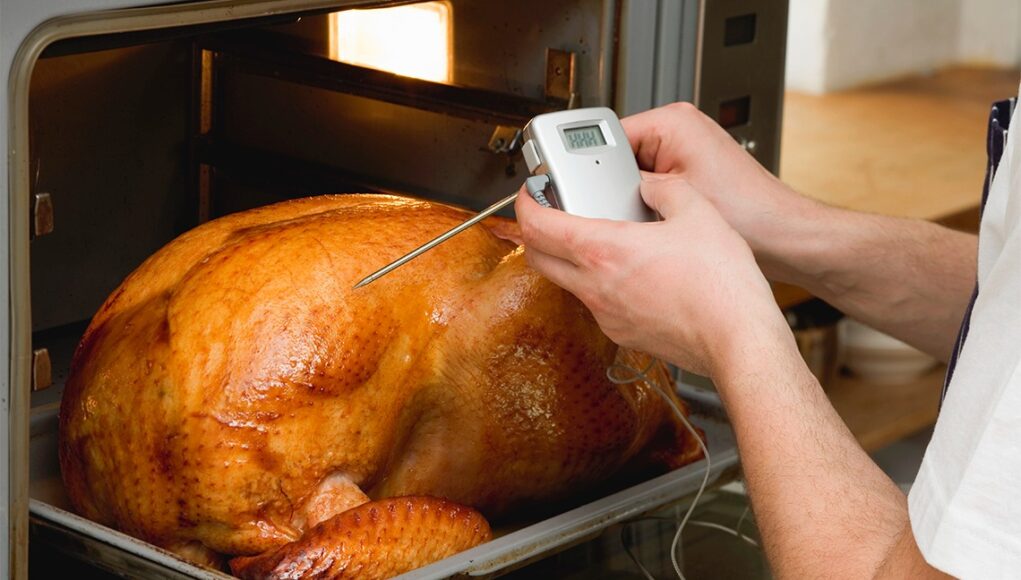
Your Taylor meat thermometer is an essential tool for ensuring perfectly cooked chicken every time. Over time, you may find that the readings are becoming less reliable, which is a clear indication that the battery needs to be changed.
In this detailed guide, we will walk you through the process of replacing the battery in your Taylor meat thermometer, ensuring it remains in top working condition.

Why a Functioning Thermometer Matters
For chicken lovers, achieving the perfect cook is a matter of pride. A functioning thermometer ensures that your chicken is neither undercooked nor overcooked, providing safe and delicious meals each time.

Identifying When to Change the Battery
Signs Your Thermometer Needs a New Battery
If your thermometer starts showing incorrect temperatures or fails to turn on, its likely time for a battery replacement.
Frequency of Battery Replacement
For regular users, replacing the battery every 6 to 12 months should suffice. However, this can vary based on usage frequency.

Steps to Change the Battery
Gather the Necessary Tools
Before you start, ensure you have a small Phillips head screwdriver and the correct replacement battery.
Locate the Battery Compartment
The battery compartment is usually found at the back or bottom of the thermometer. Refer to your user manual if needed.
Remove the Old Battery
Use the screwdriver to open the compartment. Carefully take out the old battery, noting its orientation.
Insert the New Battery
Place the new battery in the same orientation as the old one. Ensure its securely fitted.
Seal the Battery Compartment
Screw the compartment cover back on. Make sure its tightly closed to prevent any moisture from getting in.
Testing the Thermometer
After replacing the battery, test your thermometer by using it on a known temperature source to ensure its accurate.
Maintaining Your Thermometer
Regular Cleaning
Clean your thermometer after each use to ensure longevity. Use a damp cloth and avoid submerging it in water.
Proper Storage
Store your thermometer in a safe, dry place when not in use to prevent any damage.
Additional Tips for Chicken Lovers
Using the Thermometer for Perfect Chicken
Ensure you place the tip of the thermometer in the thickest part of the chicken, avoiding any bones for an accurate reading.
Safe Cooking Temperatures
Remember that poultry should always be cooked to an internal temperature of 165F (74C) to ensure safety.
FAQs
Can I use any type of battery for my Taylor meat thermometer?
No, its important to use the specific battery recommended by the manufacturer to ensure proper function.
Is it necessary to calibrate the thermometer after changing the battery?
In most cases, no. However, its a good practice to test it for accuracy after any battery change.
What should I do if my thermometer still doesnt work after changing the battery?
Check for any corrosion in the battery compartment or contact the manufacturer for further assistance.
If you are passionate about cooking chicken, be sure to check out these other useful guides on how to tell if rotisserie chicken is bad and how long to rotisserie a 6 lb chicken.
For more details on using a meat thermometer effectively, you can visit this guide.
As an Amazon Associate, I earn from qualifying purchases.
As an Amazon Associate, I earn from qualifying purchases.


