
If you’re a dedicated chicken enthusiast, knowing how to build a backup incubator is an essential skill. Whether you’re a seasoned farmer or a backyard hobbyist, having a reliable incubator ensures that your eggs have the best chance of hatching successfully. This guide will walk you through the process of creating an effective backup incubator to keep your hatching process smooth and uninterrupted.
Understanding Incubators: The Basics
Before diving into the construction process, let’s briefly understand what an incubator does. Incubators simulate the conditions of a broody hen by controlling temperature, humidity, and ventilation. These factors are crucial for the proper development of embryos within the eggs.
For a more comprehensive understanding, you might want to check out this chicken incubator guide.
Why You Need a Backup Incubator
Even the best incubators can fail due to power outages, mechanical issues, or unexpected malfunctions. A well-constructed backup incubator can save your batch of eggs from potential disaster. It provides peace of mind, knowing you have a contingency plan in place.
Essential Components of an Incubator
- Heat Source: A reliable heat source maintains the necessary temperature.
- Thermometer: This helps in monitoring the temperature accurately.
- Humidity Control: Proper humidity is crucial for egg development.
- Ventilation: Adequate airflow ensures a healthy environment for the eggs.
Gathering Materials for Your Backup Incubator
Creating a backup incubator doesn’t have to be complicated or expensive. Here are the basic materials you’ll need:
- A Styrofoam cooler or a wooden box
- A small lamp with an incandescent bulb or a dedicated heat lamp
- A thermostat to regulate temperature
- Moisture-retaining materials like sponges or a small container of water
- A fan for air circulation
You can find most of these materials at local hardware stores or online. For more ideas on collecting and handling eggs, check out egg collection tips.
Step-by-Step Guide to Building the Incubator
Step 1: Preparing the Container
Choose a container that is well-insulated. A Styrofoam cooler is ideal due to its insulation properties. Alternatively, a wooden box with a lid can also work.
Step 2: Installing the Heat Source
Mount a lamp with an incandescent bulb inside the container. If using a heat lamp, ensure it’s securely attached. The bulb should be powerful enough to maintain a temperature between 99-102F (37-39C).
Step 3: Setting Up the Thermostat
A thermostat will help maintain a consistent temperature. Position the thermostat sensor close to where the eggs will be placed. This ensures accurate temperature readings.
Step 4: Creating Humidity
Place a small container of water or a damp sponge inside the incubator. This helps maintain the necessary humidity levels, typically around 50-60% for the first 18 days and 65-75% for the last three days.
Step 5: Ensuring Proper Ventilation
Drill small holes in the container to allow for air circulation. A small fan can be installed to enhance airflow, ensuring that fresh air reaches the eggs.
Testing Your Backup Incubator
Once assembled, test your incubator before placing any eggs inside. Monitor the temperature and humidity for a few hours to ensure stability. This testing phase is crucial to identify any adjustments needed.
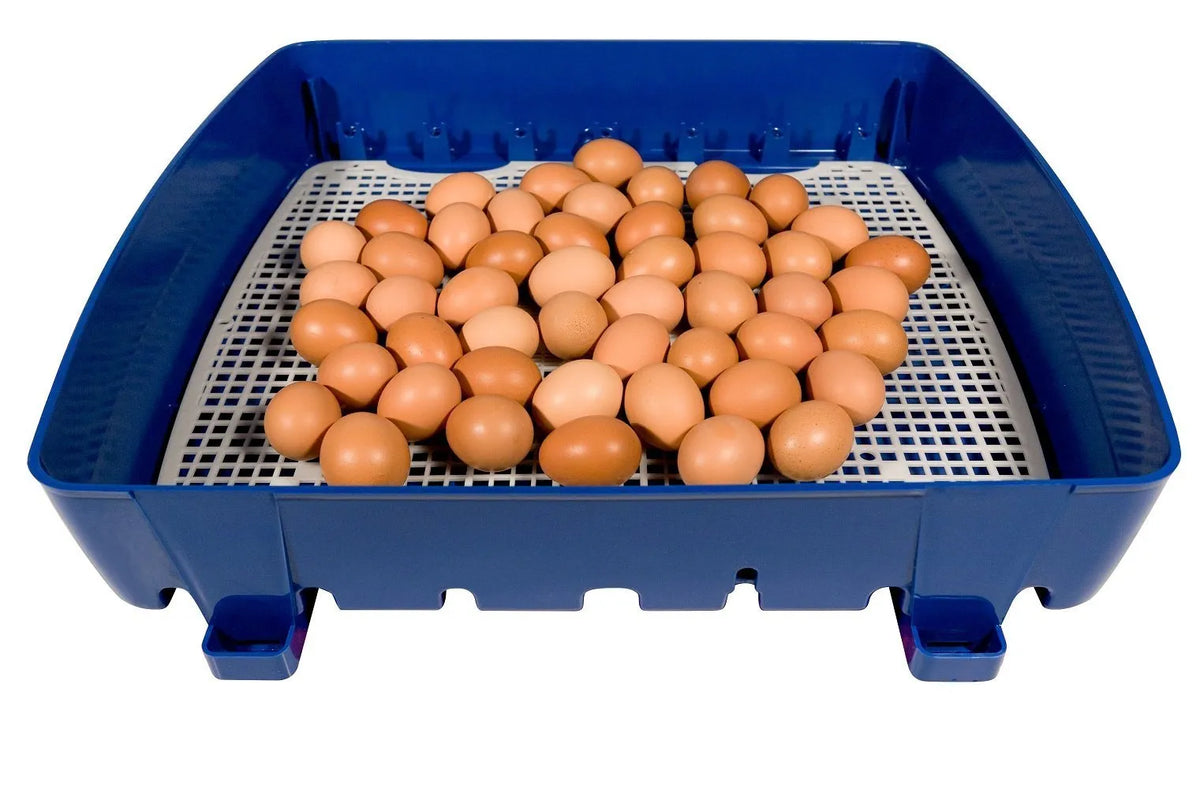
Placing Eggs in the Incubator
Once the incubator is stable, place your eggs inside, ensuring they are not touching each other. Eggs should be turned regularly to mimic the natural process. This prevents the yolk from sticking to the shell.
For tips on managing humidity in an incubator, see incubator humidity hacks.
Monitoring and Troubleshooting
Regularly check the temperature and humidity levels. Adjust as necessary to maintain optimal conditions. If you encounter problems, refer to this troubleshooting guide for solutions.
Conclusion
Building a backup incubator is a rewarding project that ensures the safety and success of your hatching eggs. By following this guide, you’ll have a reliable system in place, offering peace of mind and enhancing your chicken-raising experience.
FAQs
What are the common mistakes when building an incubator?
Common mistakes include incorrect temperature settings, inadequate humidity control, and poor ventilation. It’s crucial to monitor these factors closely.
How often should I turn the eggs?
Eggs should be turned at least three times a day. This simulates the natural turning done by a hen and prevents the embryo from sticking to the shell.
Can I use a digital thermometer?
Yes, digital thermometers can provide accurate readings and are often easier to use than analog ones. Ensure it’s calibrated correctly for best results.
This article contains affiliate links. We may earn a commission at no extra cost to you.


