
Embarking on a journey to create your own DIY chicken incubator setup can be both exciting and rewarding. This process not only saves money but also provides the satisfaction of nurturing life from eggs to chicks. Whether you are a seasoned poultry enthusiast or a beginner, setting up a chicken incubator involves careful planning and execution. In this guide, we will walk you through every step of building and operating your own incubator to ensure a successful hatch.

Understanding the Basics of Incubation
Before diving into the construction, it’s crucial to understand the basics of egg incubation. The primary purpose of an incubator is to mimic the conditions a mother hen provides naturally. These conditions include consistent temperature, humidity, and ventilation.
Why Choose a DIY Incubator?
Building a DIY chicken incubator setup allows for customization and can be more cost-effective than purchasing a commercial model. You’ll gain valuable skills and a deeper understanding of the incubation process, which can be beneficial for future hatching endeavors.
Materials Needed for Your DIY Incubator
Gathering the right materials is the first step in constructing your incubator. Here are the essential items you’ll need:
- A sturdy container, such as a Styrofoam cooler or wooden box
- A reliable heat source, like a light bulb or heating pad
- A thermostat to regulate temperature
- An accurate thermometer and hygrometer
- Water trays for humidity control
- Ventilation holes or a small fan
Step-by-Step Construction
Step 1: Choosing the Right Container
Begin by selecting a container that can maintain consistent temperature and humidity. A Styrofoam cooler is an excellent choice due to its insulating properties. Alternatively, a wooden box or even an old refrigerator can work well if properly modified.
Step 2: Installing the Heat Source
Next, install your heat source inside the container. A common choice is a light bulb with a dimmer switch, which allows easy temperature adjustments. Ensure the heat source is positioned safely to avoid overheating and potential fire hazards.
Step 3: Temperature and Humidity Control
Attach the thermostat to your heat source to maintain a steady temperature of around 99.5F (37.5C). Use a thermometer to monitor temperature, and a hygrometer to track humidity levels. Place water trays at the bottom of the incubator to maintain the desired humidity range of 40-50% for the first 18 days, increasing to 65% for the final days.
Step 4: Ensure Proper Ventilation
Drill small holes in the container to allow fresh air circulation. Proper ventilation is crucial to prevent carbon dioxide buildup and ensure the developing embryos receive enough oxygen. For an in-depth understanding of this, check out the detailed guide on ventilation.
Operating Your DIY Incubator
Preparing the Eggs
Before placing the eggs in the incubator, it’s vital to ensure they are fertile and clean. Learn more about testing egg fertility to maximize your hatching success.
Turning the Eggs
Eggs need to be turned regularly, at least three to five times a day, to prevent the embryo from sticking to the shell. You can manually turn them or build an automatic turner to make this process easier.
Monitoring Progress
Keep a close eye on temperature and humidity levels. Regularly candle the eggs to monitor embryo development. For a comprehensive guide, visit candling eggs.
Common Challenges and Solutions
Temperature Fluctuations
Temperature fluctuations can be harmful to developing embryos. Ensure your thermostat and thermometer are working accurately. Consider a backup heat source if you frequently experience power outages.
Humidity Control
Maintaining proper humidity can be tricky. Use additional water trays or sponges to increase humidity, and monitor closely during the final days of incubation.
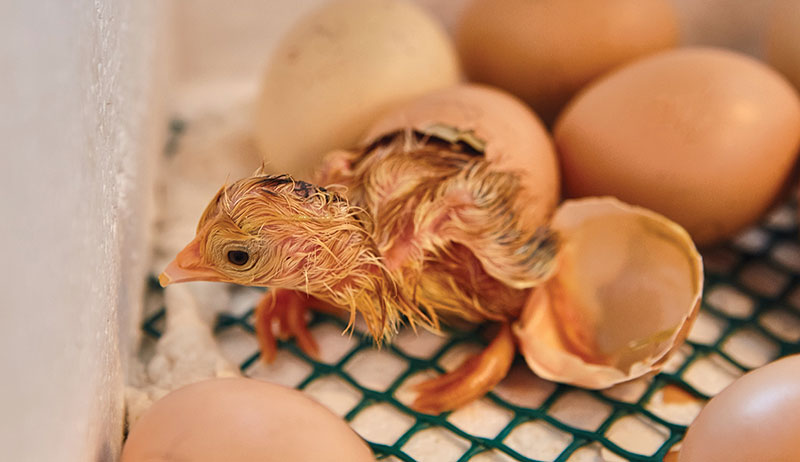
When to Expect Hatching
Chicks usually hatch around 21 days. However, this can vary slightly depending on the breed and environmental conditions. Be prepared for some eggs to hatch a day earlier or later.
After the Hatch
Transitioning Chicks to a Brooder
Once the chicks have hatched, they should remain in the incubator until completely dry before moving them to a brooder. A brooder will provide warmth and safety as they grow. Learn more about caring for your chicks during this crucial stage.
Conclusion
Creating a successful DIY chicken incubator setup is a rewarding experience that offers a deeper connection to your poultry. By understanding the principles of incubation and carefully constructing and operating your incubator, you can enjoy the joy of watching your chicks hatch and grow. Remember, patience and careful monitoring are key to achieving the best results. Happy hatching!
FAQs
How often should I turn the eggs in my DIY incubator?
Eggs should be turned at least three to five times a day to prevent the embryo from sticking to the shell.
What is the ideal temperature for a chicken incubator?
The ideal temperature for chicken eggs is around 99.5F (37.5C). For more details, check the guide on ideal temperature.
How can I increase humidity in the incubator?
Increasing the water surface area with trays or adding moist sponges can help raise the humidity levels.
This article contains affiliate links. We may earn a commission at no extra cost to you.


