Raising baby chicks can be a fulfilling and exciting experience. A chick brooder with heat lamp plays a crucial role in this process, ensuring your young chicks grow in a warm, safe, and nurturing environment. A brooder serves as their first home, providing the warmth and comfort reminiscent of a hen’s care. In this guide, we will explore the vital components and setup of a chick brooder, along with usage tips to ensure your chicks thrive.

Understanding the Importance of a Chick Brooder
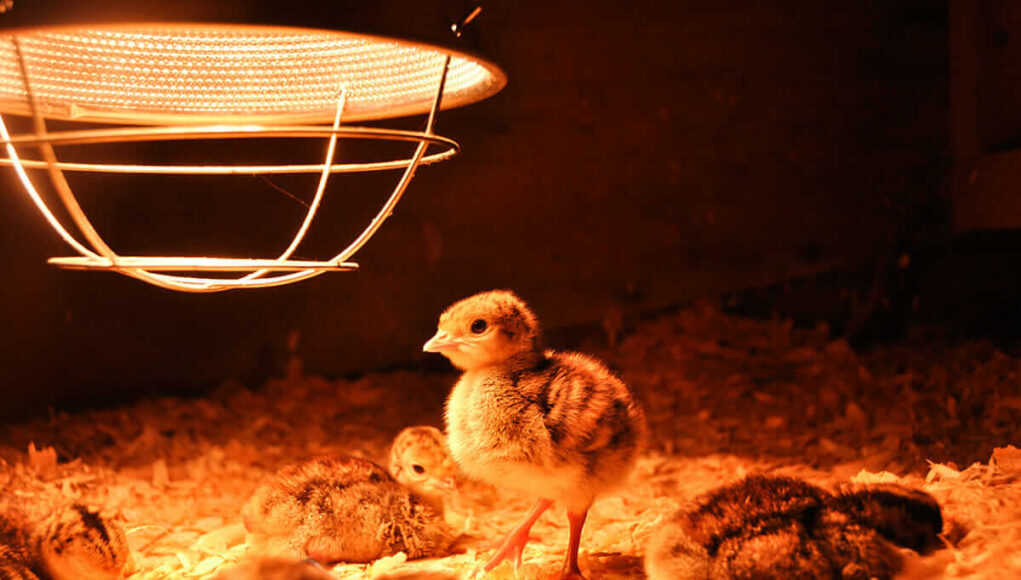
Before delving into the specifics of brooder setup, its significant to grasp why a brooder is essential for chicks. The first few weeks of a chick’s life are critical. A chick brooder helps regulate temperatures and provides a contained space for young chicks, crucial for maintaining their health and development. Having a heat lamp as part of the setup helps to mimic the warmth they would typically receive from a mother hen.
Components of a Chick Brooder
1. Safe Enclosure
A safe enclosure is vital to protect chicks from potential predators and to prevent them from wandering off. Ensuring the brooder is made of chick-friendly materials significantly enhances their safety and comfort. You can read more about choosing the right materials for your chick brooder.
2. Heat Source
The heat lamp is the lifeline of a chick brooder with heat lamp. It ensures that the temperature is consistently warm to nurture the growth of the chicks. Adjusting the height of the lamp allows control over the temperatures, necessary as chicks grow and temperatures adjust.
3. Bedding
Bedding such as straw or wood shavings keeps the brooder clean and provides the chicks with a soft ground to walk on. Bedding material should be easy to clean and maintain for healthy living conditions.
4. Food and Water Stations
An adequate supply of fresh food and water is mandatory for a thriving brooder environment. Chicks require starter feed that is formulated with essential nutrients.
Setting Up Your Chick Brooder with a Heat Lamp
Setting up a brooder is a manageable task even for first-time poultry enthusiasts. Begin with positioning your brooder in a warm, draft-free area. Next, securely attach the heat lamp, ensuring it provides a steady temperature across the brooder.
For a detailed understanding, visit our guide on setting up a chick brooder.
Temperature Control
Temperature control is the most vital aspect of a chick brooder with heat lamp. The ideal temperature should begin at 95F (35C) in the first week and gradually decrease by about 5F each week.

FAQs About Chick Brooders with Heat Lamps
What size should my chick brooder be?
The size of the brooder largely depends on the number of chicks. It is critical to provide at least 1 square foot per chick to ensure they have enough space to grow.
How often should I clean the chick brooder?
Regular cleaning is crucial to prevent diseases. Ideally, clean the brooder at least once a week while replacing bedding as required.
Can I use alternatives to a heat lamp?
Yes, alternative heat sources such as radiant heat plates can be used. However, ensure they provide an adequate and even level of warmth.
The journey of raising chicks is both fulfilling and rewarding. By ensuring your chick brooder with heat lamp is optimally set up, you can enjoy watching your fluffy companions grow into healthy chickens. For more tips, explore our detailed guide on how to set up a chick brooder.
This article contains affiliate links. We may earn a commission at no extra cost to you.


