If you love cooking delicious meals, particularly chicken, then you know the importance of a reliable meat thermometer. No one wants an undercooked or overcooked meal, and a meat thermometer ensures that your food is cooked perfectly every time. However, what do you do when your trusty meat thermometer stops working? Fixing a meat thermometer might seem daunting, but it’s here, bringing big technology for tremendous results. Lets explore how you can fix your meat thermometer and get back to creating those delightful dishes.

Understanding How a Meat Thermometer Works
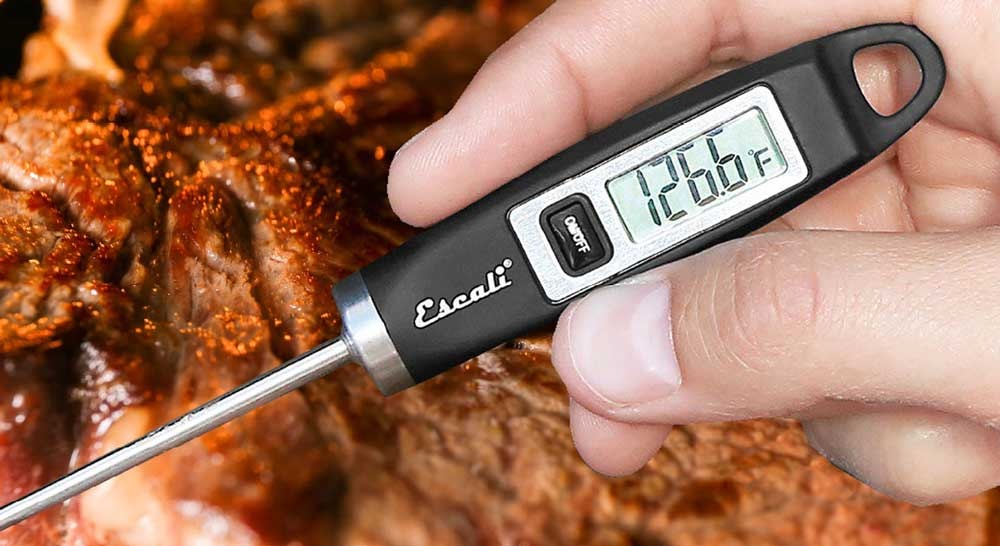
Before diving into troubleshooting and fixing your meat thermometer, it’s essential to understand its structure and function. A typical meat thermometer consists of a metal probe attached to a digital or analog display. The probe measures the internal temperature of the meat, ensuring that it has reached a safe and desirable degree of doneness.
Types of Meat Thermometers
Various types of meat thermometers exist, including:
- Digital Instant-Read Thermometers
- Analog Dial Thermometers
- Leave-In Thermometers
- Wireless and Bluetooth Thermometers
Understanding these differences aids in pinpointing specific issues and fixing them accordingly.
:max_bytes(150000):strip_icc()/how-to-use-meat-thermometer-GettyImages-1330139635-91da8d92d7ab4711aa195e6f674ed7ac.jpg)
Common Issues with Meat Thermometers
Incorrect Readings
One of the most common issues is receiving incorrect temperature readings. This can result from a miscalibrated thermometer or a faulty probe.
Display Malfunctions
If the display is flickering or showing distorted numbers, it could be due to battery issues or internal wiring problems.
Unresponsive Thermometer
An unresponsive thermometer often indicates battery problems or significant internal damage.

How to Fix Your Meat Thermometer
Step 1: Check the Batteries
For digital thermometers, ensure that the batteries are not depleted. Replace old batteries with fresh ones, and see if that resolves the issue.
Step 2: Calibrating Your Thermometer
Calibration is essential for accurate readings. To calibrate, fill a glass with ice water and insert the thermometer. It should read 32F (0C). If not, adjust the thermometer according to the manufacturer’s instructions.
Step 3: Inspect the Probe
Examine the probe for any visible damage, such as bends or breaks. A damaged probe may need replacement, as even slight deformities can affect accuracy.
Step 4: Testing the Display
If the display is malfunctioning, check for loose connections and secure them. Replacing the display can be complex and might require professional assistance if damaged.
Maintaining Your Meat Thermometer
Proper Storage
Store your meat thermometer in a protective case and avoid exposing it to extreme temperatures.
Regular Cleaning
Always clean the probe before and after use. A mild soap solution works well for this purpose.
When to Replace Your Meat Thermometer
If fixing the thermometer is unsuccessful, or if it repeatedly fails, it might be time to invest in a new one. Choose a reliable brand and consider any additional features you might find useful.
FAQs
What should I do if my meat thermometer is not turning on?
First, check if the batteries are depleted and replace them if necessary. If it still doesn’t turn on, there might be internal damage, and you should consider seeking professional help.
How often should I calibrate my meat thermometer?
Calibrate your thermometer every six months or if you notice any inaccurate readings.
Can I fix a broken probe myself?
Broken probes are usually not repairable at home. It’s best to replace the probe or the entire thermometer if necessary.
For more tips on using and maintaining kitchen gadgets, check out other posts on topics like what to pair with rotisserie chicken or how to season a cast iron griddle.
For professional advice on using a meat thermometer, visit MasterClass.
As an Amazon Associate, I earn from qualifying purchases.


