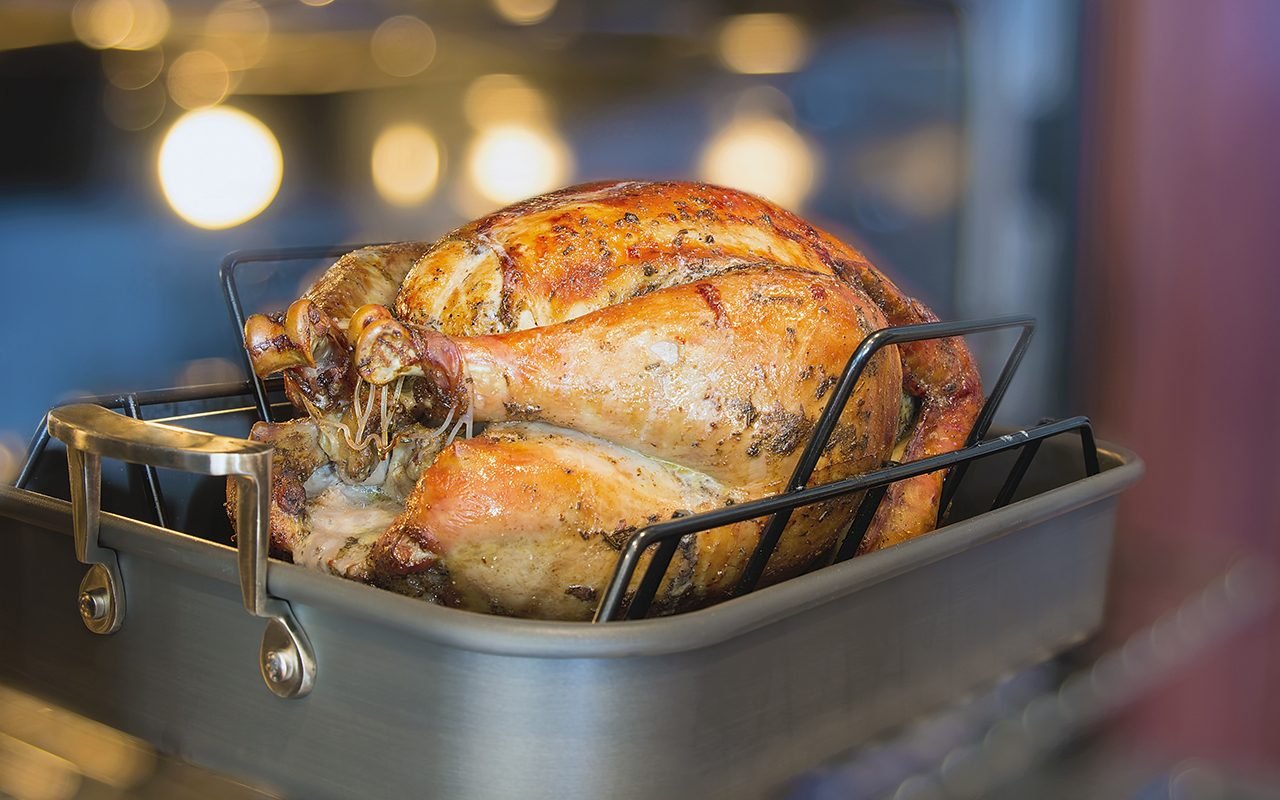
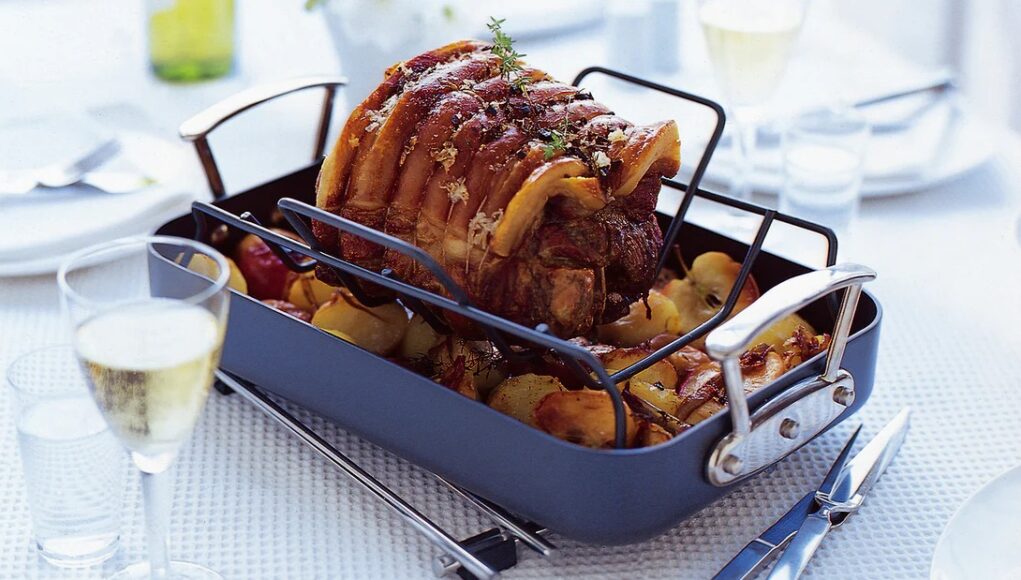
Are you ready to make the perfect gravy that will delight your taste buds? Learning how to make gravy in a roasting pan is an essential skill for chicken lovers who want to add a touch of magic to their meals. In this guide, we will explore the simple yet effective techniques to create a delicious gravy using the juices from your roasted chicken.

Why Use a Roasting Pan for Gravy?
The roasting pan is a wonderful tool for making rich and flavorful gravy. The pan captures all the delicious drippings and cooked bits from your roasted chicken, providing a perfect base for your gravy. By using the same pan, you can create a deep, robust flavor that can’t be achieved with store-bought gravies.
Essentials You’ll Need
- Roasting Pan
- Whisk or Wooden Spoon
- Flour
- Chicken Broth
- Drippings from Roasted Chicken
- Salt and Pepper
- Optional: Fresh Herbs

Preparing Your Ingredients
1. Collecting the Drippings
After roasting your chicken, remove it from the roasting pan and let it rest. You’ll want to leave the drippings, which are the flavorful juices and browned bits in the pan.
2. Skimming the Fat
Using a spoon, skim off any excess fat from the drippings. The fat can make your gravy greasy, so removing most of it will result in a smoother and more appealing gravy.

Making the Roux
1. Heating the Roasting Pan
Place your roasting pan over medium heat on your stove. Add a few tablespoons of flour to the pan and whisk continuously to prevent lumps from forming.
2. Cooking the Flour
Continue to whisk the flour for about 2 minutes, or until it turns a golden brown color. This process is called making a roux, and it is the foundation of many great gravies and sauces.
Adding Liquid
1. Gradually Adding Broth
Slowly add chicken broth to the pan while whisking constantly. This will help to create a smooth and creamy consistency. The amount of broth you use will depend on how thick you want your gravy to be.
2. Incorporating Drippings
Once the broth is fully combined with the flour, add the reserved drippings to the pan. Continue to whisk until the gravy reaches your desired thickness.
Seasoning Your Gravy
1. Adding Salt and Pepper
Season your gravy with salt and pepper to taste. You can also add additional spices or herbs to enhance the flavor.
2. Taste and Adjust
Taste your gravy and adjust the seasoning as needed. This is your chance to make the gravy perfect, so don’t be afraid to experiment with flavors.
Serving Suggestions
1. Pairing with Roasted Chicken
Serve your homemade gravy over your roasted chicken for a mouthwatering meal that your family will love.
2. Accompaniments
Gravy is also delicious when poured over mashed potatoes, stuffing, or vegetables. The rich flavor complements a wide range of side dishes.
Cleaning Up
1. Cleaning the Roasting Pan
After enjoying your meal, don’t forget to clean your roasting pan thoroughly. The leftover bits can be tough to clean, so soaking the pan in warm, soapy water can help.
2. Storing Leftover Gravy
Store any leftover gravy in an airtight container in the refrigerator. It will keep for a few days, and you can reheat it gently on the stove when you’re ready to use it again.
Common Mistakes to Avoid
1. Not Whisking Enough
Whisking continuously is essential to prevent lumps from forming in your gravy.
2. Adding Liquid Too Quickly
Add the broth gradually to ensure a smooth consistency.
FAQs
1. Can I use store-bought broth?
Yes, using store-bought broth is perfectly fine. Just make sure it’s a quality broth to get the best flavor.
2. How do I fix lumpy gravy?
If your gravy is lumpy, you can strain it through a fine mesh sieve or use an immersion blender to smooth it out.
3. Can I make gravy ahead of time?
Yes, you can make gravy ahead of time. Just reheat it gently on the stove before serving.
For more information on using a roasting pan, visit this article.
Conclusion
Learning how to make gravy in a roasting pan is a rewarding and enjoyable experience. It’s a terrific way to enhance your roasted chicken and other dishes with a rich and flavorful gravy that will delight your taste buds. By following these simple steps, you’ll be able to create the perfect gravy every time. Happy cooking!
As an Amazon Associate, I earn from qualifying purchases.


